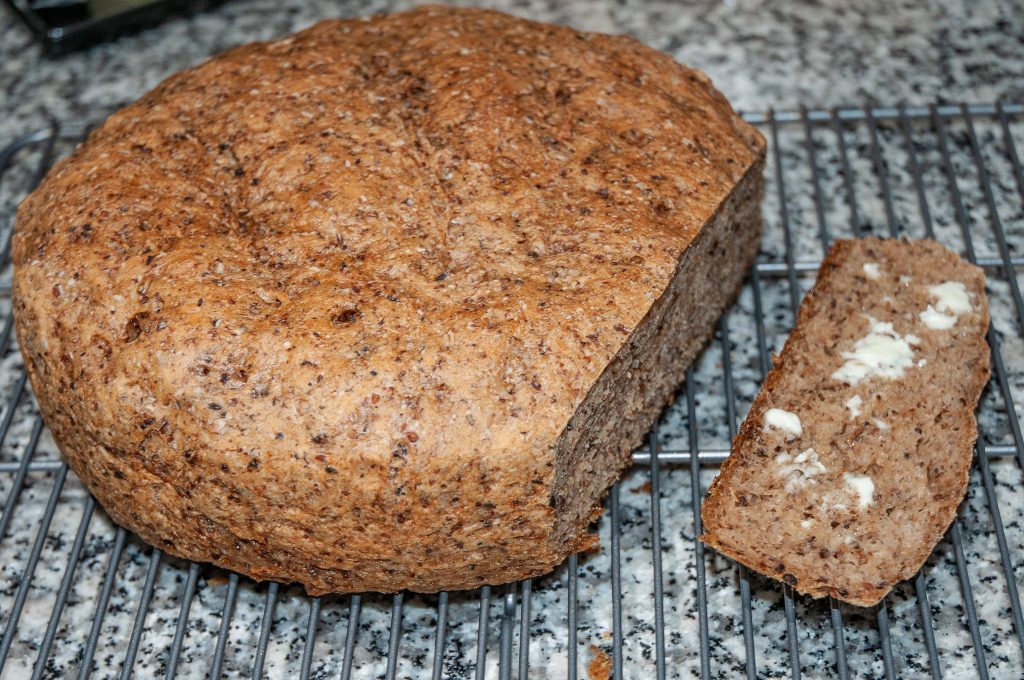
With a little planning ahead a brewing day can also be a baking day. I am doing extract brewing and the spent specialty grains are perfect for baking. The cooked grains are rich in fiber, have lower carbs and add great texture (yes, even with the husks present).
Given that many of my beers are high gravity I need to make a starter for the beer. The sourdough also requires a starter. So why not do both in parallel?

Day T-2 Pull your sourdough starter from the fridge and mix with 1 cup all purpose flour and 3/4 c water. Mix well, cover and allow to rise at room temp.
Day T-1 Make the starter for the beer. I typically use 1.5 l water and 3/4 c DME. Bring to a boil in an erlenmeyer flask, including the stir bar, with a foil cover . Remove from heat and quickly cool in a snowbank or ice water (brewing in the winter does have some advantages for cooling). Rehydrate the yeast per the mfr instructions if using dry yeast, add to the flask and then put on the stir plate.
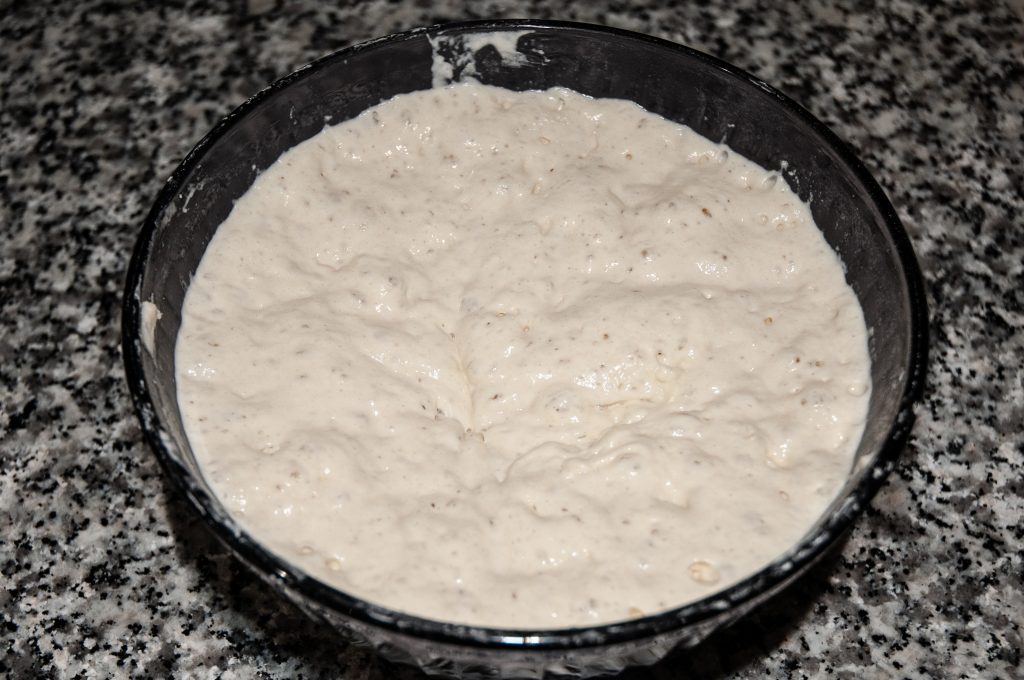
Add to the sourdough starter. Add another 1 1/4 c flour and 3/4-1 c water to have a heavy sticky dough. Cover and let rise at room temp. Make sure you keep the sourdough work well away from the beer starter or you will risk contamination. Doing the additions in 2 stages, seems to yield more consistent results.

Brew and baking day
Steep the specialty grains per the beer recipe drain well and cool. For the bread pictured above, this was Caramunich III. By the time you are done brewing, the grains will be cool enough for baking.
Bread
Place the sourdough starter in the mixer bowl reserving 2/3 cup to save for the next batch.
Add 2.5 cups of the spent grains – they should be just damp at this point. Wring out if too moist
Add 2 c bread flour (King Arthur)
1 tsp dry yeast (SAF Instant)
Mix lightly and then rest for 10-15 min.
Continue mixing for 3 min. This should be a very sticky ball, mostly pulling away from the sides of the mixer . You may have to adjust with more flour or water but do not be tempted to make it too firm.
Add 1tsp fine sea salt. Mix for another 2 min. The salt firms up the dough, so don’t add too early or the texture will not be as nice.
Cover the bowl with a very damp warm kitchen towel and place in the oven to proof. Ours has a bread proofing (100F) setting. Let rise for 1.5 hours.
Take the dough our and place on a floured counter. Pull and fold 5-8 times. It will still be very sticky but this evens out the texture.
Place in a large pan or dutch oven and oil the inside well (olive oil or butter). Cover and rise again for another 1-1.5 hours at 100F. The dough should have risen about 2.5 times.
Preheat oven to 425 F
Place bread covered in the oven for 15-20 min.
Remove the lid, set for convection baking. Insert temperature probe and bake until the internal temp is 195F (15-30 min). Itis best to go by temp rather than time. The Thermoworks Chefalarm with the Pro Series Needle Probe is perfect. I also use this for brewing as the probe is waterproof.
Remove and turn onto a rack to cool and serve (unless your spouse beats you to it for the first slice (as mine did in the photo above). Serve with a glass from a previous batch of your beer.
While you may be tempted to interleave the baking and brewing work during the boil, I would recommend against it. The sourdough has a variety of yeasts and bacteria in it that would definitely not be beneficial to your beer. I have learned the hard way not to taste the raw sourdough!
Note that previously I had tried adding brewing grains (dry) as part of the flour for the bread and the texture was not that good. The steeping of the grains for brewing makes a huge difference in the bread. I will also try increasing the proportion of spent grain in the future as well as mixing with other flours. I am really intrigued with trying rye and oats as the spent grains. There is much room for experimentation, based on this successful base recipe.