We are on our 4th (or more) generation of path lights for along the front walk and driveway. We live in the country and there is no street lighting. So we need path / landscape lights to provide illumination for safety (of course nothing is level here) and it just looks nice. However the commercial lighting products are pretty cheap and flimsy unless you are willing to spend hundreds of dollars per light. We have the wiring in place and a large 12 v transformer from the initial incandescent path light installation. We had converted to LEDs a while back but want things a bit brighter. Besides the current lights are again falling apart and the glass is breaking either on its own or due to “incidents”. Solar / battery lights are nowhere near bright enough and the rechargeable battery replacement is an ongoing expense.
So now it is time for new lights (again). Being recently retired, I have the time to pursue this, after getting more pressing projects out of the way. I started researching looking for designs that i could use as a starting point and to show Teal as I needed her approval. The lights will be mounted on top of 18-24″ posts with some sort of spike anchor base. We started closing in on some promising ideas and then it was time to start making prototypes out of construction paper. This would allow us to see the final size in the garden setting and help inform what the construction process would entail. I had decided to use copper and brass for the shell of the light and a cear “hammered” finish stained glass for the panes. LED light would be used. The metal would then be powder coated. The initial batch for the front walk will be 8 lights. If this works out well then 10 or 12 more will be needed for the driveway.
I wanted something of an Craftsman or “English cottage” sort of look with a peaked roof and 4 or 6 sides. So the first things to tackle were over all size and the roof design.
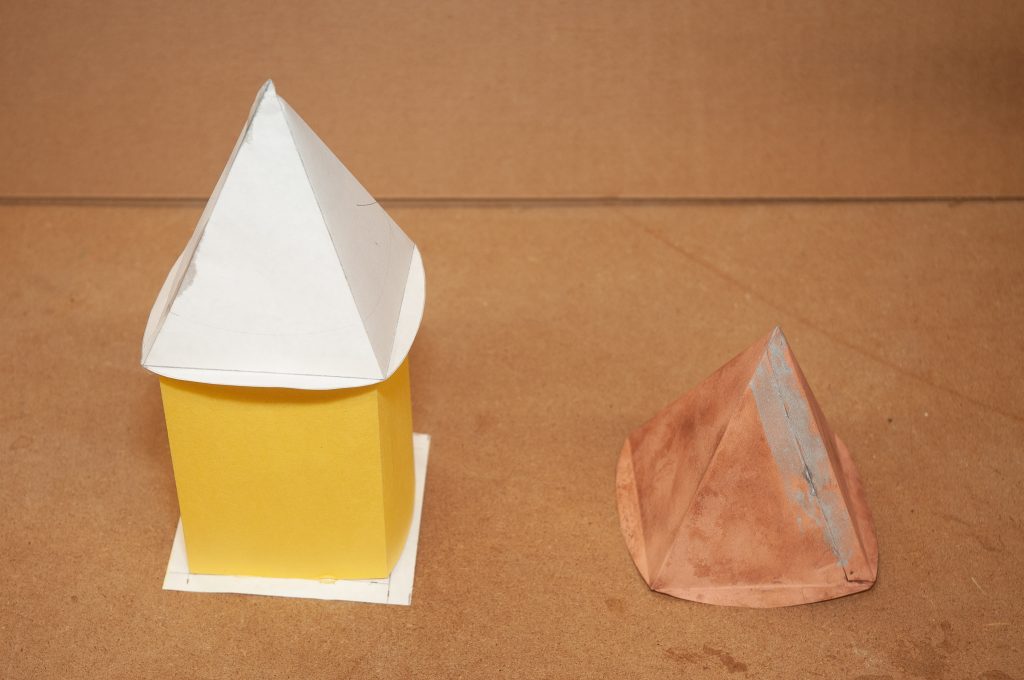
The first prototype looked like this.

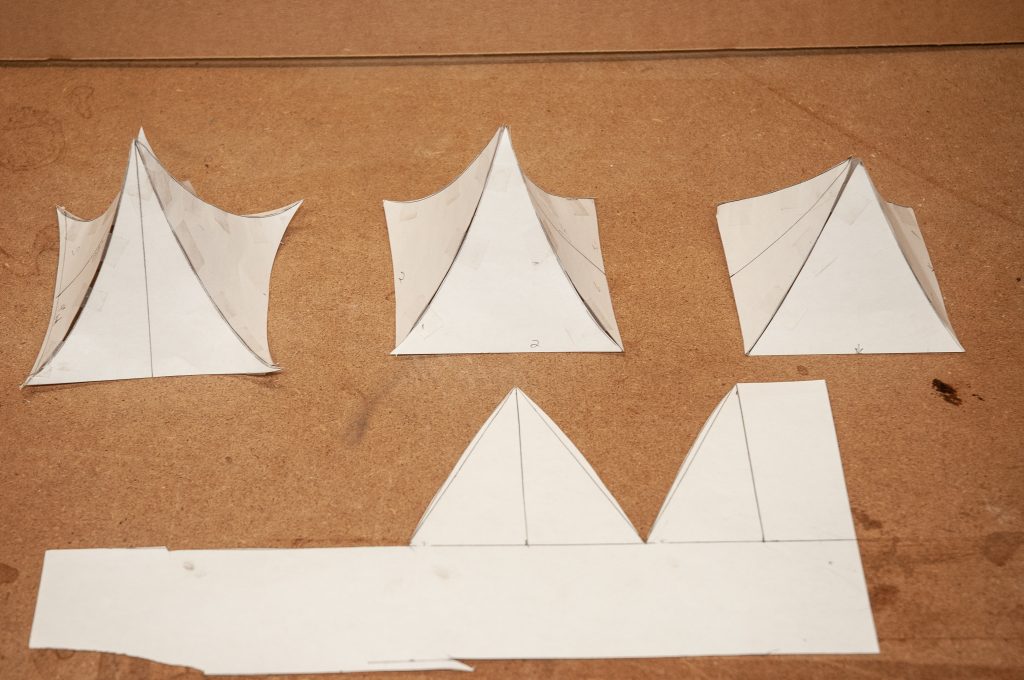
It was a start and could be made in copper but the look was not quite right. I wanted a curved / flared roofline, reminiscent of a thatched roof. The copper foil / flashing I had on hand was also flimsier than I wanted. So purchased a roll of 12oz copper flashing to see if that would be thick enough. Then it was time to play with the roof design to see if I could get the look that I wanted and that Teal would agree with. More time was spent with paper, straight edge, compass and french curves. Now I had 3 paper roof prototypes.

We ended up choosing the middle shape. It has the flare I wanted but I was still debating which one. . Teal did not like the slightly upturned corners of the one on the left. So she had the deciding vote. As it turns out fabricating the curved roof in the middle was hard enough.
More materials were ordered. My old stained glass supplier was out of business and I had to try a new one. THis is where I got a few varieties of brass came and the class itself . More metal was ordered from SpeedyMetals for the bottom panel. I ended up using sheet brass for the bottom.
Now was time to start the fabrication and build the tooling. The Press Brake was already done but more was needed.
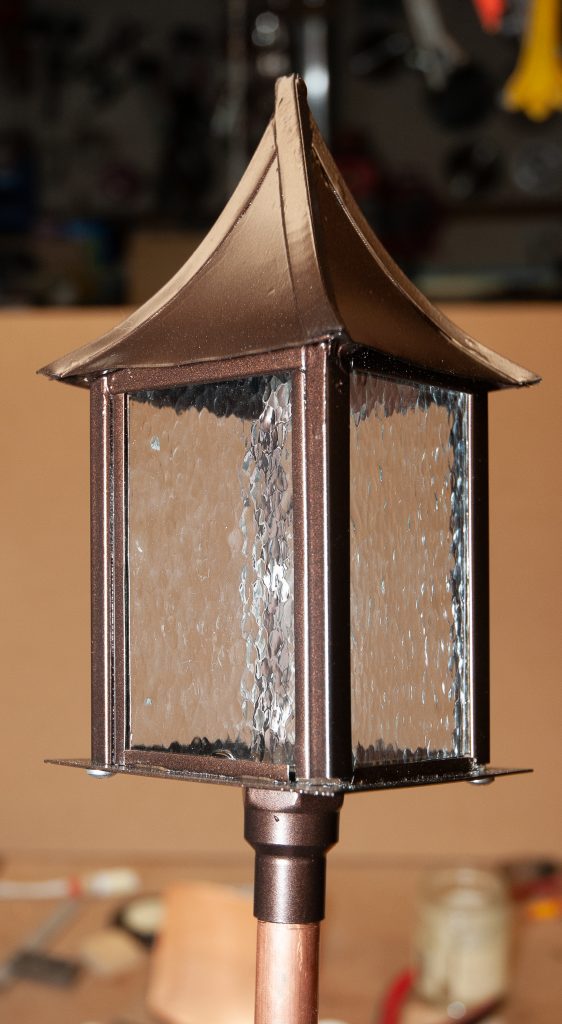
The prototype light looks like this.

I’ll cover the construction details and tooling next.
