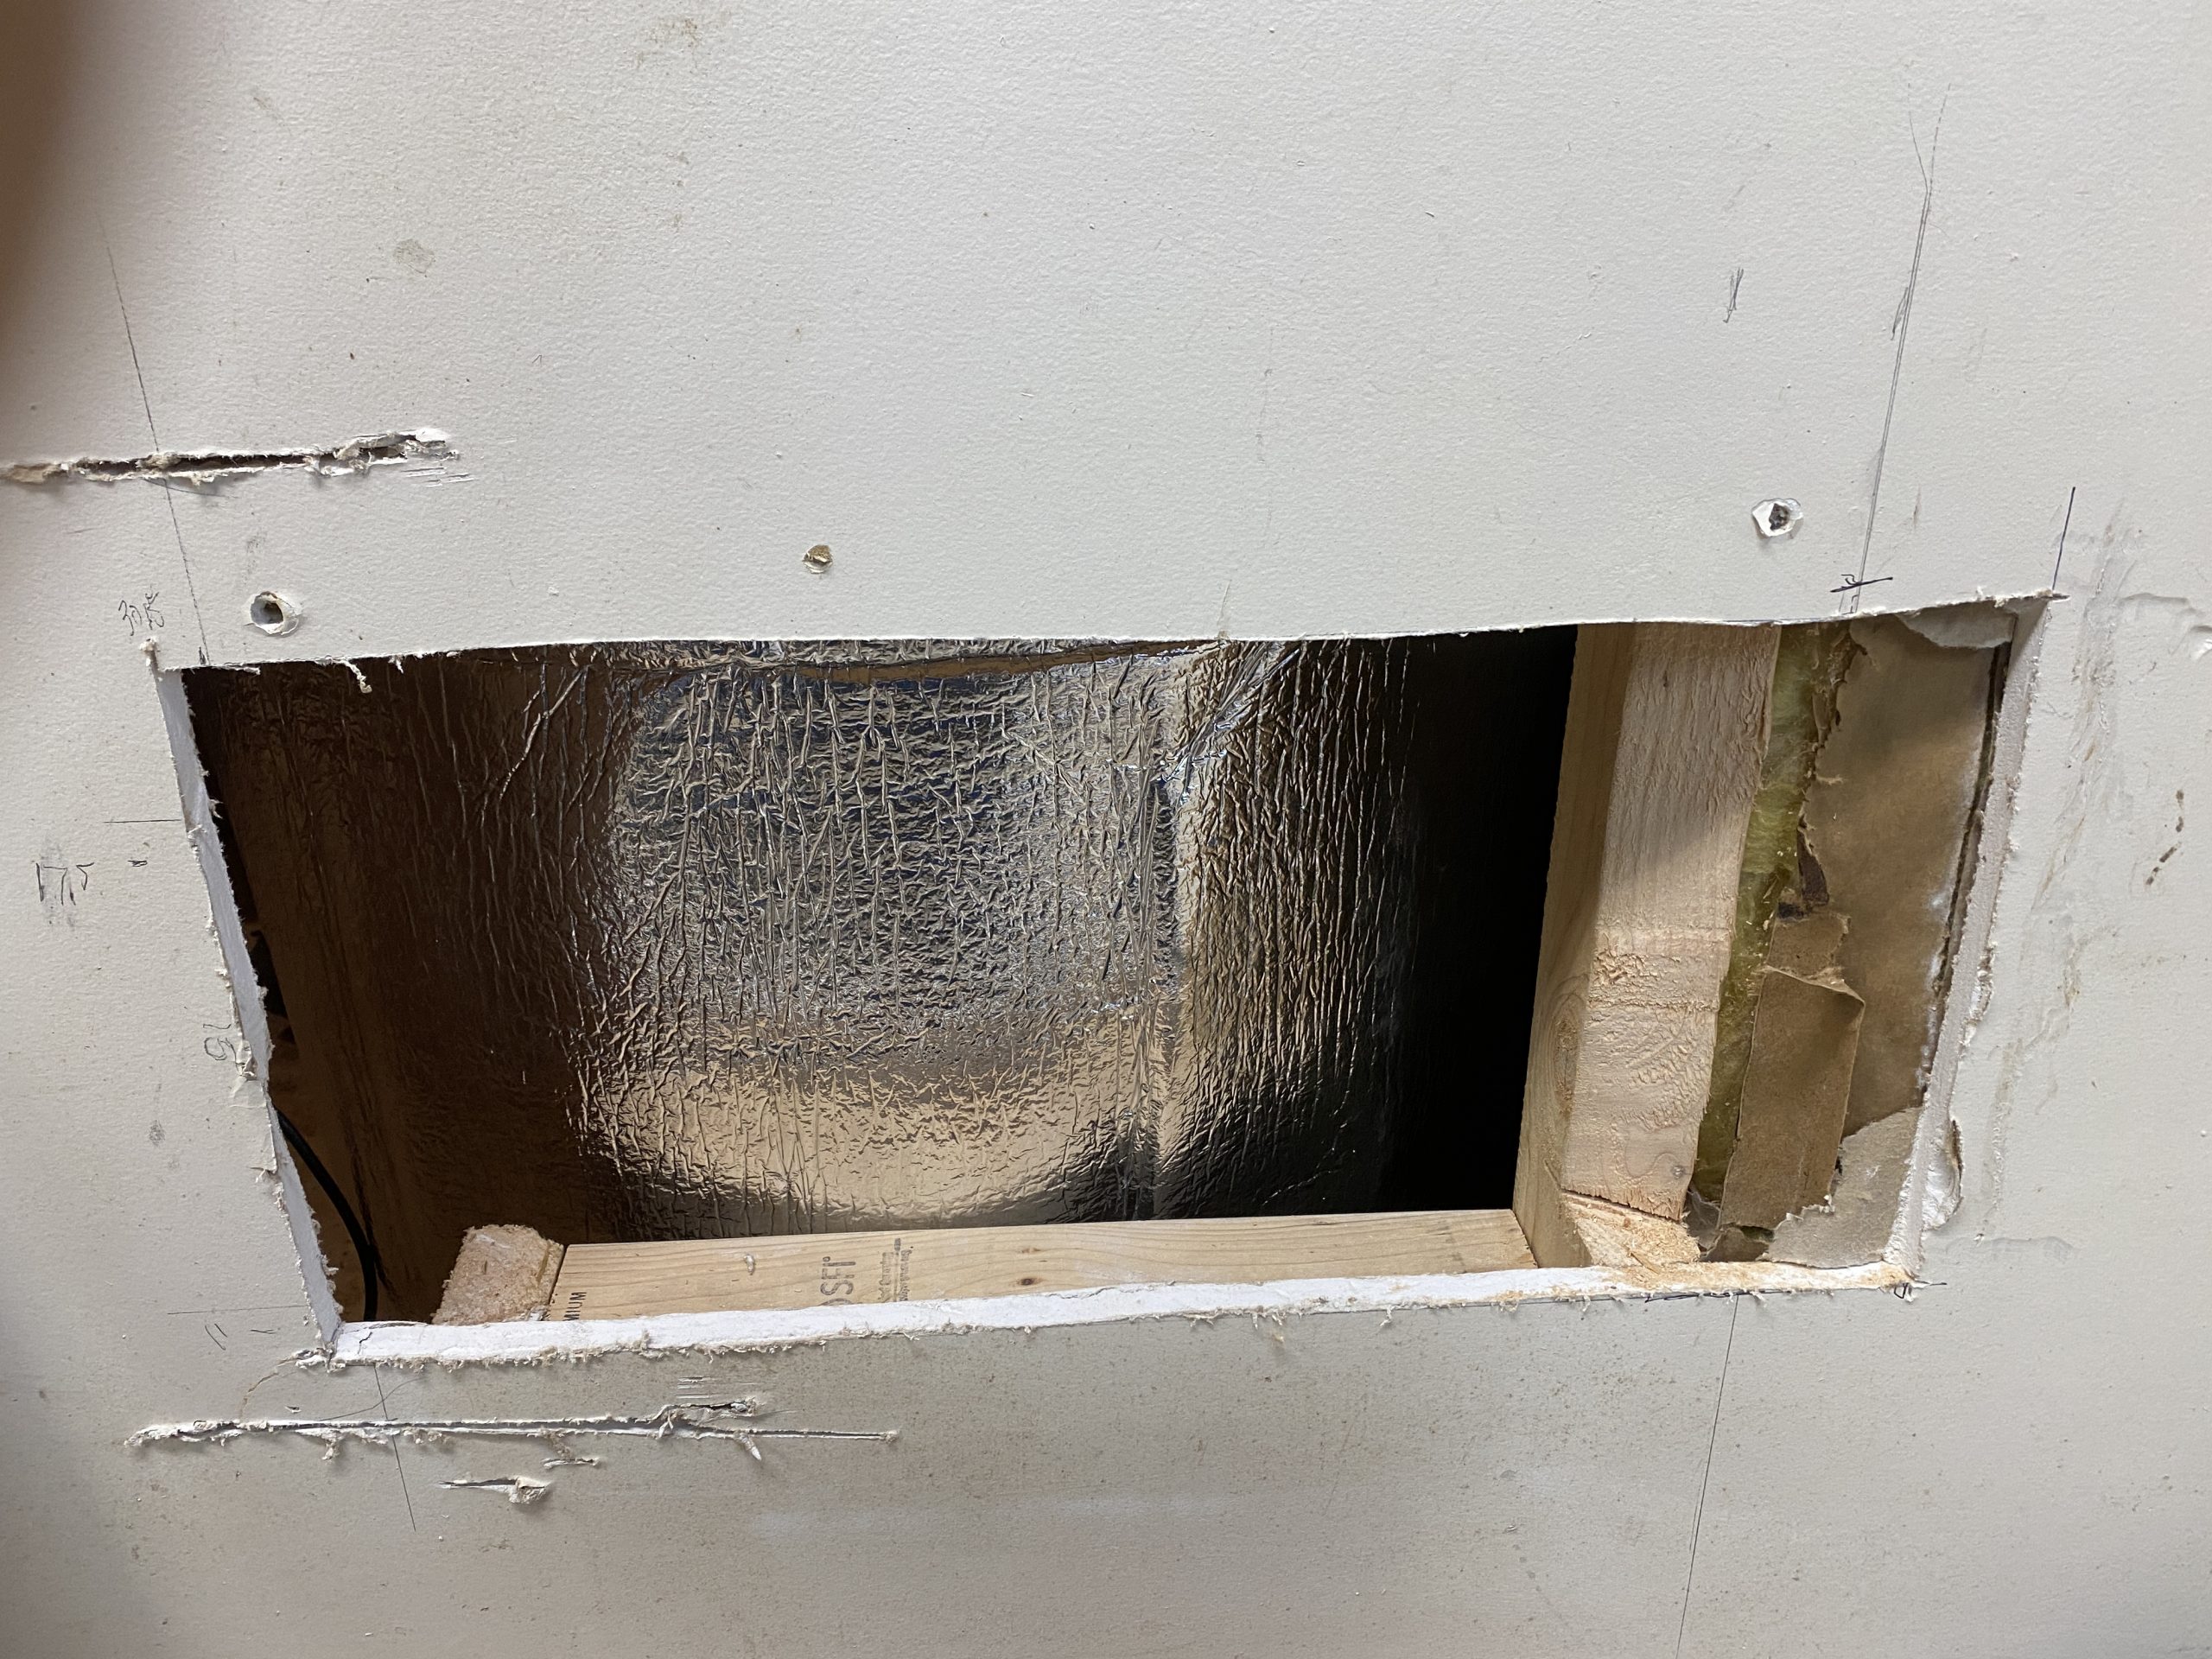
The laser is located in the basement shop. The nearest way out of the house is through the closet behind it and up and over the basement block wall through the rim joist. As an added complication the well pump pressure tank is also located immediately behind the laser, blocking some of the access. The laser has dual 6″ exhaust ports which of course both land over a stud in the wall when the laser is in position and I do not have room to move it over. Besides if I did move it, the access would be even worse due to even more obstruction from the pressure tank.
As I originally planned this, the idea was to go straight thru the wall, up inside the closet with an 8″ diameter duct , across the top and then straight out through the outside wall. As I prepped to do this, I had to cut out some excess length on the supports for the shelving in the closet. I then took a long 3/8 ” drill and drilled out through the rim joist, 1″ foam board and cedar siding (or actually the trim). The hole was not in a good spot on the outside. The vent hood would straddle the corner board (2×8″ cedar) and the cedar siding. There would need to be a lot of cutting of siding and adding blocking to make this look half way decent (and it is on the front of the house). So then I decided to move over 1 floor joist bay and try again. To do this I had to cut more shelving supports and work around the main well water supply line. However, I forgot to remove the wine from the shelves and while attacking the support with the sawzall, 2 bottles of wine bit the dust. Once the mess was cleaned up, I removed all of the rest of the wine and set it aside. Then I was back to hacking away at the 2×4 support.
Now, with the path clear, I drilled out again and the bit came through in an appropriate spot. So I then proceeded to mark the outline of the vent duct on the siding. I then took 1″ bit and drilled out the corners of the outline. Next the sawzall was used to cut on the lines and complete the opening. The vent fit nicely but was straddling 2 of the siding pieces. 1×3″ cedar was used to frame out the duct on top of the siding. Caulk was applied (Vulkem 116) and then the vent was screwed down. It took 2 coats of paint to match the siding.

There was not a perfect match for the transition from the rectangular vent to the 8″ round duct. The closest I could find locally was a bit large (4×12″ vs 2 1/4×10). So this was roughly centered over the vent tube and screwed down. Then aluminum foil tape was liberally applied to close all of the gaps. Yes a real HVAC guy would laugh at this, but it works and I did not have to special order a custom part.
I wanted to keep the fan and damper up in the floor joists above rather than just cutting across on the diagonal. So this required 4x 90 degree bends. Not ideal from an airflow standpoint but what I needed to keep the damper and fan up in between the floor joists.
Once the elbows were roughly fitted they were pulled out and all of the seams taped with more aluminum tape. I did not want smoke leaks into the house. Plus from past experience with the wood dust collection in the shop feeding the cyclone, really sealing the ducts makes a big difference. The elbows were put into place and 2 flap damper and booster fan was added. Yes, the exterior vent has a flapper damper but I wanted a better seal as this is in Wisconsin and the winters get COLD so I wanted a better seal.

90 degree bends from exterior vent as well as the 2×4 shelf support that had to be cut off

From the fan there was another 90 degree bend and then 5 foot straight section and then a 8 to 6″ reducer. This lead to a 4×12″ Center boot / end register vent transition piece. I had to chop out one stud, install new top and bottom 2×4 pieces to bridge the gap.
Note the well pressure tank immediately behind in the background.
Then I fabricated and installed a piece of sheet metal to make a pan roughly 12″ high, 18″ wide and 3.5″ deep to fit in the wall.


This was cut out with metal snips and bent to shape over the edge of my radial arm saw top. This was screwed to the studs and the register transition. Of course the spacing for the exiting ducts from the laser was wider than 16″ stud spacing. So as you can see above, a second stud needed to be partially cut away. A 6″ air intake hood was placed inside the wall to provide the transition from the hose from the laser to the sheet metal pan. All of the joints were then taped with yet more aluminum tape.
The hole in the wall was covered with 1/4″ plywood and the circles for the ducts were cut with the laser (first “real” laser project). The Air intake simply poked through the plywood. on the right . The left side used a Flowtite duct fitting which was cut down to reduce the protrusion from the wall and the end crimped to allow the hose to fit over. Note the line on the front hose. Draw a line on the collapsed hose with a silver Sharpie prior to installing. Then use the line to ensure that as you clamp down the hose it does not twist. This makes it far easier to get the hose collapsed tight to the wall.

Inside the laser the existing cheap plain aluminum ducting had torn and fallen off. This was replaced with more of the AC infinity ducting. Unfortunately as laid out the ducting would ride on top of the Z axis elevation chain. So I made a cover for the chain out of acrylic using a pattern I made with Boxes.py – https://www.festi.info/boxes.py/. It is a tube box 2×2.5×12″ with one of the 2″ sides ripped to make the mounting flanges.

Materials:
8″ AC Infinity Cloudline S8 duct fan – https://amzn.to/2YslHRG
8″ AC Infinity backdraft damper – https://amzn.to/3mOEVKx
Broan / Nutone 639 Steel wall cap / exterior vent – https://www.menards.com/main/appliances/appliance-parts-accessories/range-hood-filters-parts/broan-reg-steel-wall-cap/639/p-1444426014052-c-1525179308200.htm?tid=8976761690835377349&ipos=1
4×12 x 8″ Straight boot duct fitting – https://www.menards.com/main/heating-cooling/ductwork/ductwork-fittings/straight-boot-duct-fitting/77241280lq/p-1444432277206.htm
4x12x6 end / center boot fitting – https://www.menards.com/main/heating-cooling/ductwork/ductwork-fittings/center-boot-duct-fitting/67141260rb/p-1444432266636.htm
6″ flowtite plain duct fitting – https://www.menards.com/main/heating-cooling/ductwork/ductwork-fittings/flowtite-plain-duct-fitting/21706000rb/p-1444432238020-c-14260.htm?tid=4910611054895500030&ipos=73
6″ AC infinity flexible aluminum ducting – https://amzn.to/3C5MoJP
Vulkem 116 Polyurethane caulk
Aluminum foil tape for HVAC – https://amzn.to/3H0ygVK
Note: commissions hopefully earned on Amazon links. Menards links are just for reference. They have a much better ductwork selection than Home Depot or Lowes.