
For the Path Light project I needed to make curved corner pieces for the roof. The roof panels are roughly triangular and the corners have a roughly 1/4×1/4 angle of “12 oz” copper to cover the corner. The twist is that the roof panels are not straight but instead somewhat concave giving the roof a flare at the bottom. The corner pieces cannot be bent to shape by hand, hammering to flare them takes forever, and using a chisel as a punch to stretch the edges is both slow and prone to cutting through. So a variation on a ring roller is needed. I have a Harbor Freight Ring Roller . It is not exactly a precision instrument but will suffice for this work and save a lot of time vs. building the mechanicals to hold and turn the dies from scratch.
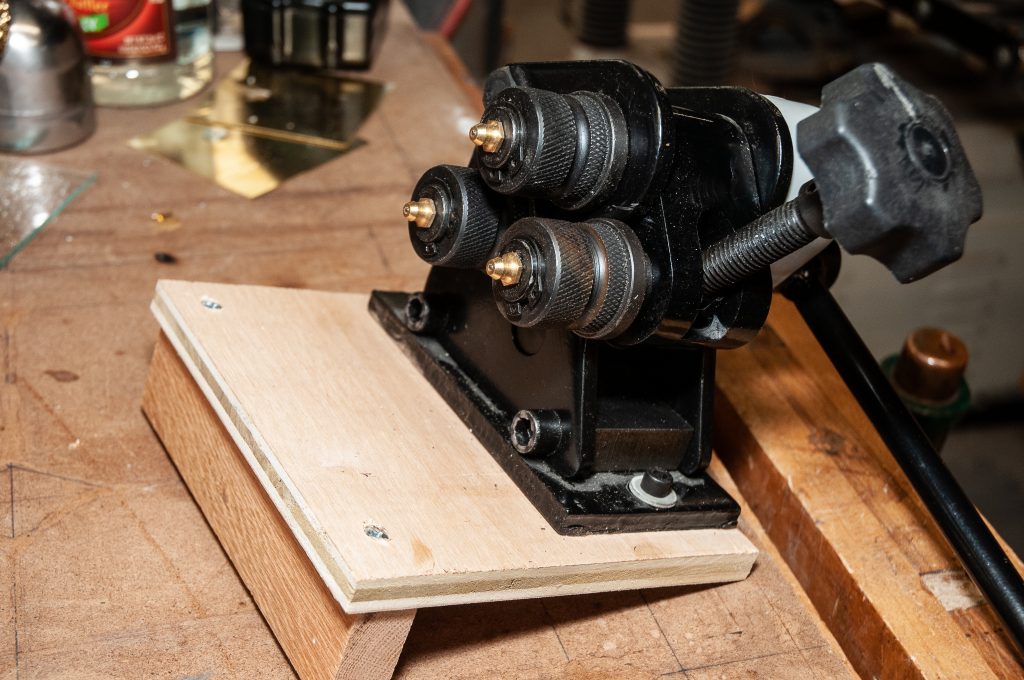
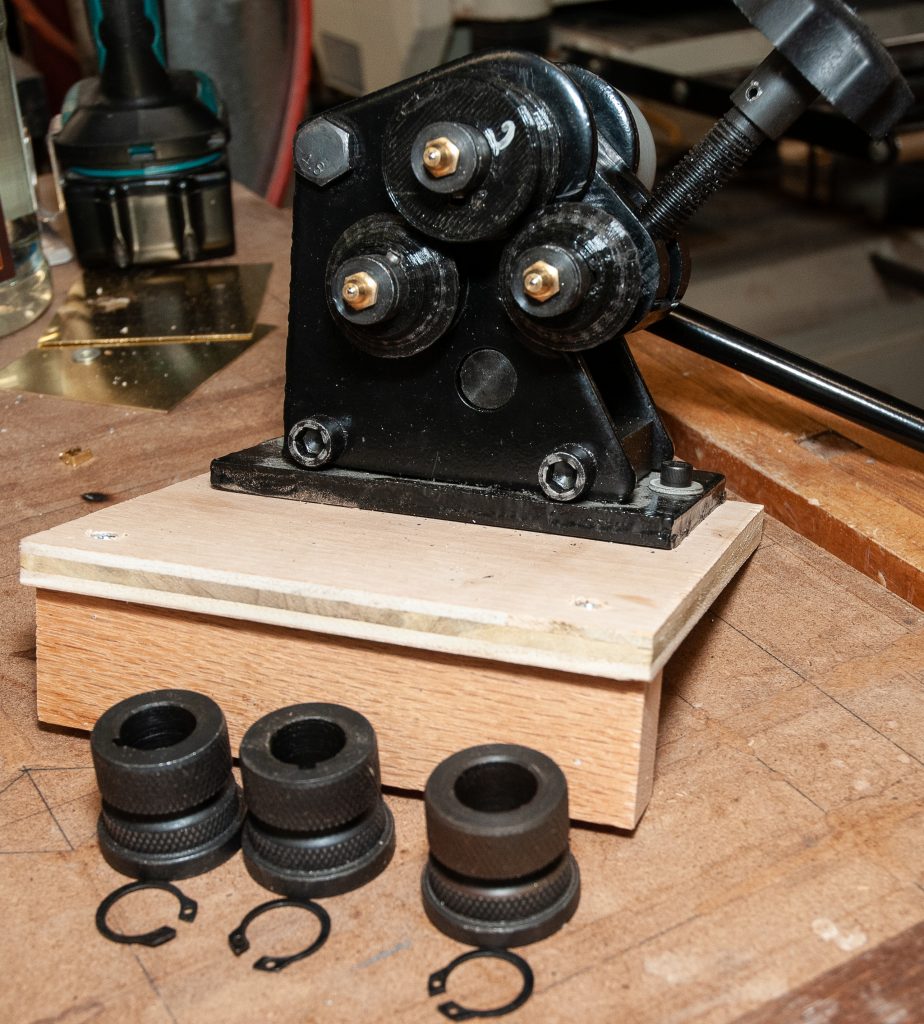
I had run across a youtube video by “Stuff Made Here” https://www.youtube.com/watch?v=WuY2-OrT9ig where he used 3D printed dies to bend some steel parts. Forming the copper strips would require far less stress, so I decided to give it a go. The first goal was to prove that the pieces could be formed as I desired, second would be to improve durability if needed . That could be solved by changing plastics or turning the wheels out of metal on the lathe. The first step was to pull the C-Clips that hold on the factory rollers and get some measurements .
Next the v-roller were designed in Sketchup and 3D printed. They were done in PLA at 50% infill with 3D honeycomb for the infill pattern. No support material was used even with the 45degree overhang (yes there are imperfections at the seam between layers because of this). It did take a few tries to get rollers sized such that they gave the relatively shallow curve that is needed and not split the V in the copper strips when inserted. If I had “properly” 3D modeled everything I could have probable avoided printing a few rejects.
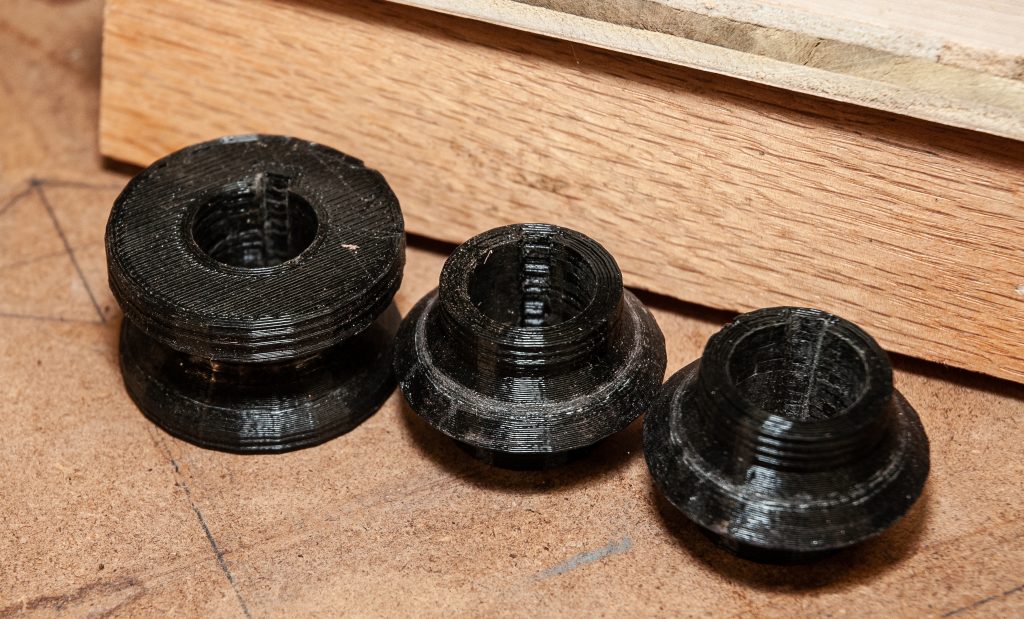
The V-rollers as printed did need a bit of clean up on the inner diameter and the keyway. The adjustable reamer did well for the bore. Yes, I know that you machinist purists will say this is will throw the bore off but I do not have spiral chucking reamers. If my printer had been better dialed in I might not have had as much clean up, but this is close enough. If you don’t have an adjustable reamer sandpaper and a dowel works too. You don’t want too tight a fit as the rollers do interfere with each other and all 3 have to be put on or removed all at once. You can see some faint faceting of the circumference in the wheels and the copper, due to the way Sketchup does circles, but once the part is finished they are completely invisible.
For short run parts such as these the 3D printed parts provide a relatively quick and low cost / effort option to forming the parts. A nice thing was that I could design, kick off the printer and then go back to designing and building the rest of the light components while the part was printing. Also without the right tooling (broaches, which I do not have ) making keyways in aluminum or steel on the lathe is a bit of a pain. The files for the dies can be found on Thingiverse: https://www.thingiverse.com/thing:4678087
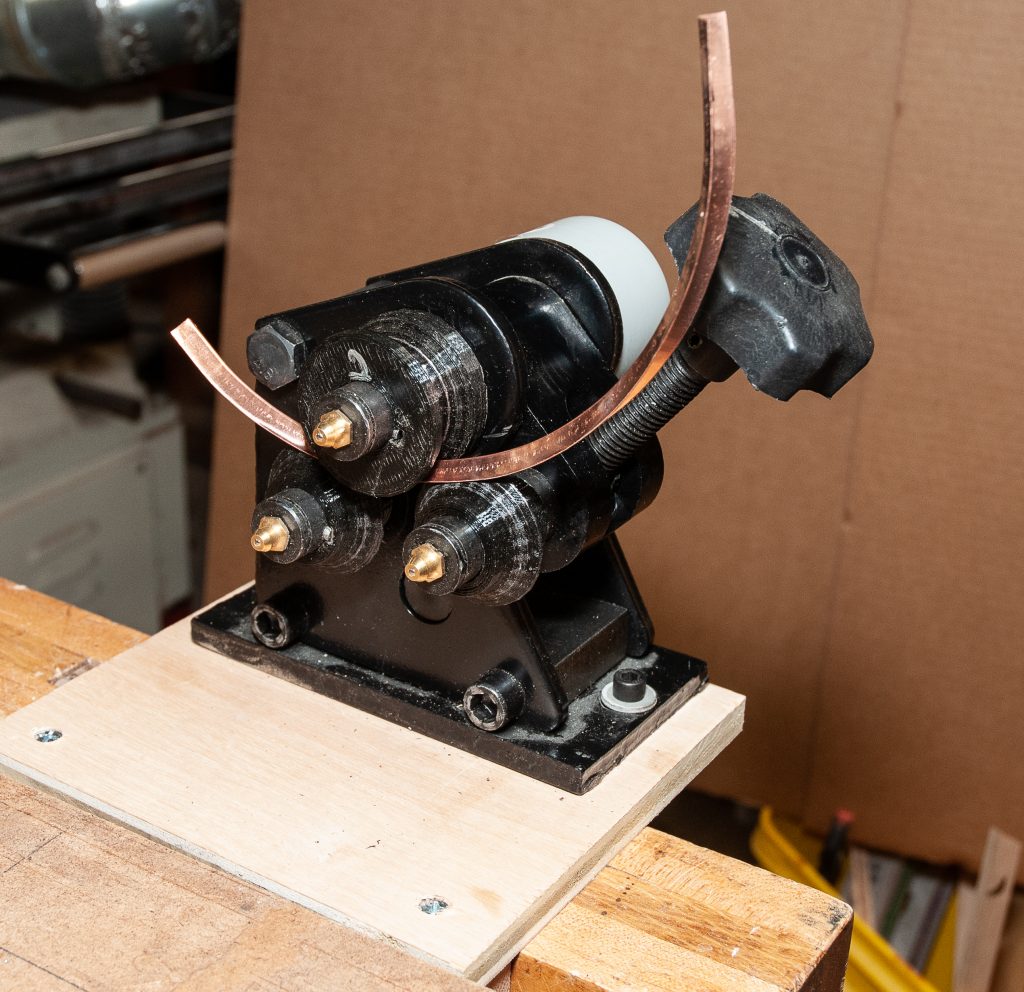
Running the bent angle pieces through the ring roller
I hope this gives you some food for thought on making 3d printed plastic metal forming tools.