When I added the rotary chuck to the laser, the primary use was to be for engraving powder coated water bottles and tumblers. These make nice gifts and I wanted to be able to do “full wrap” designs. With a “full wrap” design, as you may have guessed, the engraving goes all the way around the object being engraved (or nearly so). I had originally settled on using a 3 jaw chuck for this purpose as it provides a high degree of repeatability and accuracy as well as it finding use on the CNC router and milling machine. However, as many will attest, getting the object to be engraved centered up can be a pain, requiring multiple trial and error attempts to get it centered and hold position as the chuck rotates. As I will detail later, making a very simple jig fixes this problem and makes it a snap to get everything aligned. The same method also allows mounting items that are bigger than the chuck jaws by easily clamping from the inside.
The projects
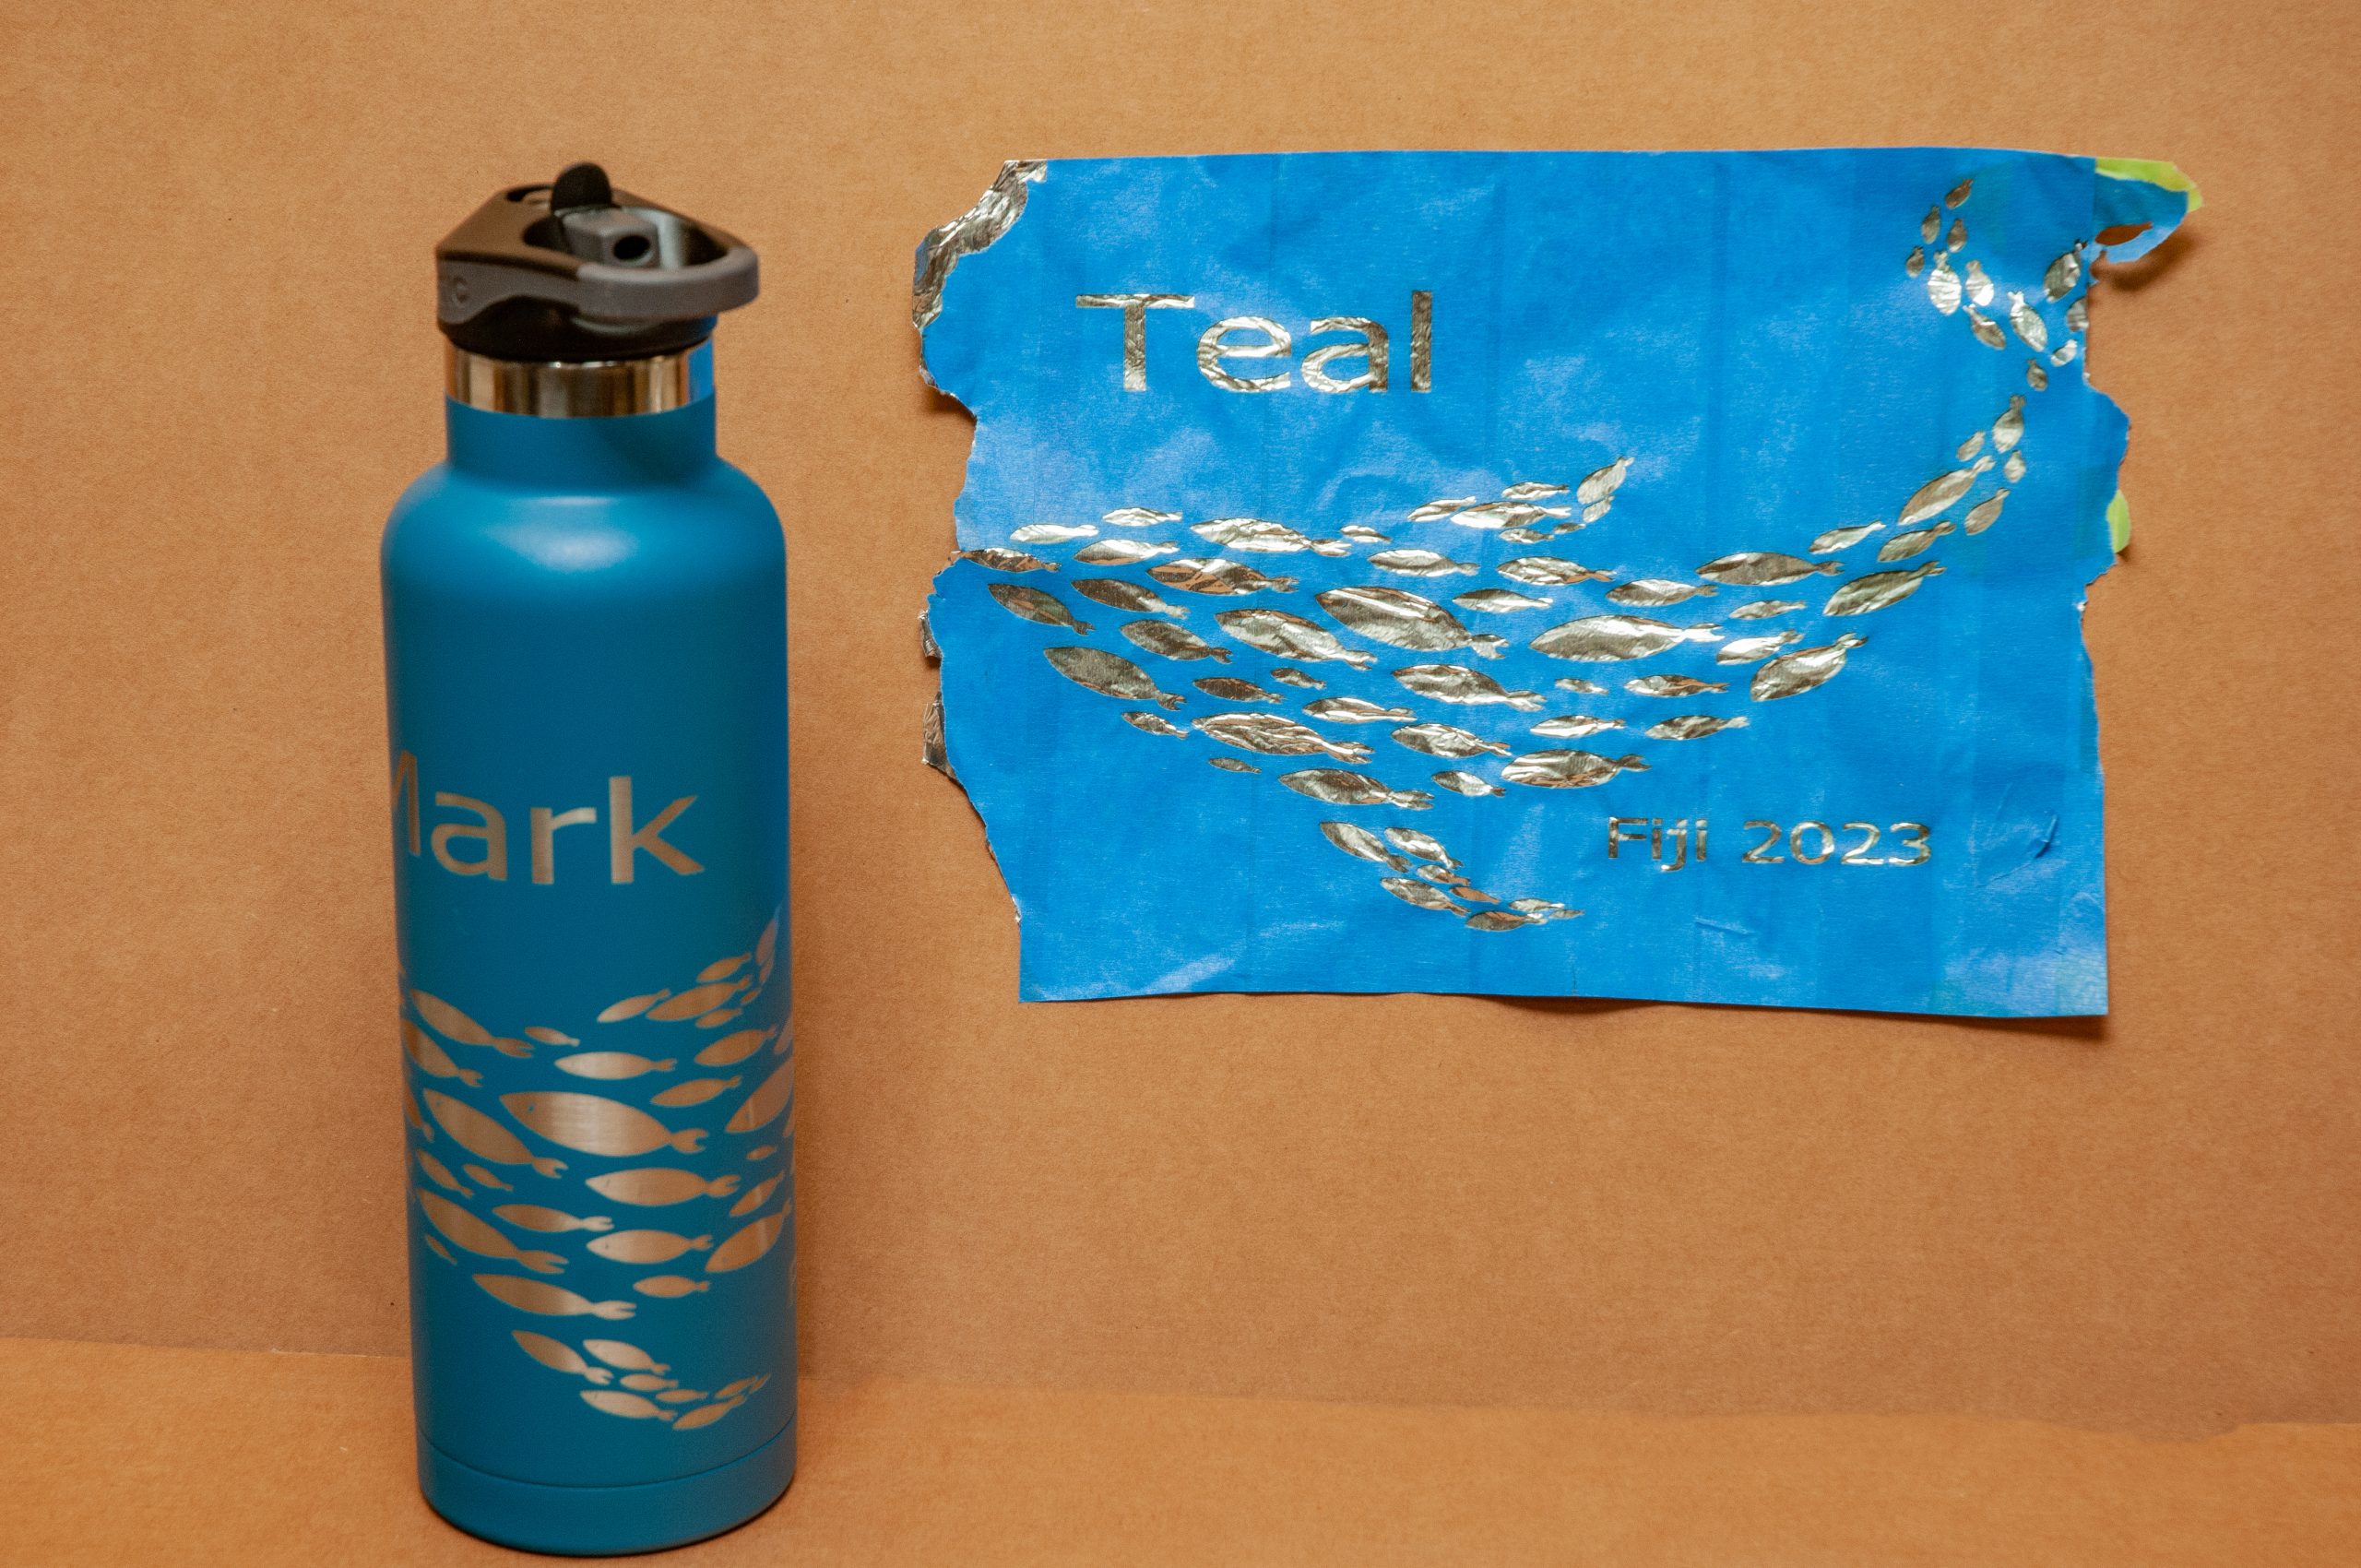
The first project was to make custom water bottles for our dive group. We have an upcoming trip to Fiji. Teal and I thought it would be nice for the group to have matching insulated water bottles. I had originally imagined a school of mobula rays angled across or a school of fish. However, the photos I have did not work well and I started searching for artwork. The design we settled on is that of a school of fish shaped in the outline of a shark.
The water bottles are RTIC 20oz straight sided. The rotary was set up and aligned under the X axis. The diameter of the water bottle was entered into LightBurn and this was then used for the calibration of the rotary. Once you have the diameter, it is a simple calculation to come up with the circumference (and LightBurn presents this for you without digging out your calculator). The next thing is to draw a “bounding box” in LightBurn that is the height of the engraveable surface (~150mm in this case) and the circumference of the water bottle. The water bottle is then wrapped in a layer of aluminum foil and then a layer of blue painters tape. This provides the “test surface” on which to verify the measurements and practice the engraving without creating a bunch of damaged / distressed water bottles. Get the laser aligned and make sure you can “frame” the design on the water bottle without errors. Next engrave the bounding box. The vertical lines ideally will land on top of each other or be darn close. Depending on you design, you may need to weak the diameter setting. In this case, since the design wraps around but does not overlap, having a <1mm error was OK. The design was then inserted and fit to the bounding box. Next the whole thing was rotated 90 degrees in LightBurn as the rotation replaces the Y (vertical) axis. Now it is time to make the test engrave of the whole design on the aluminum foil and tape.
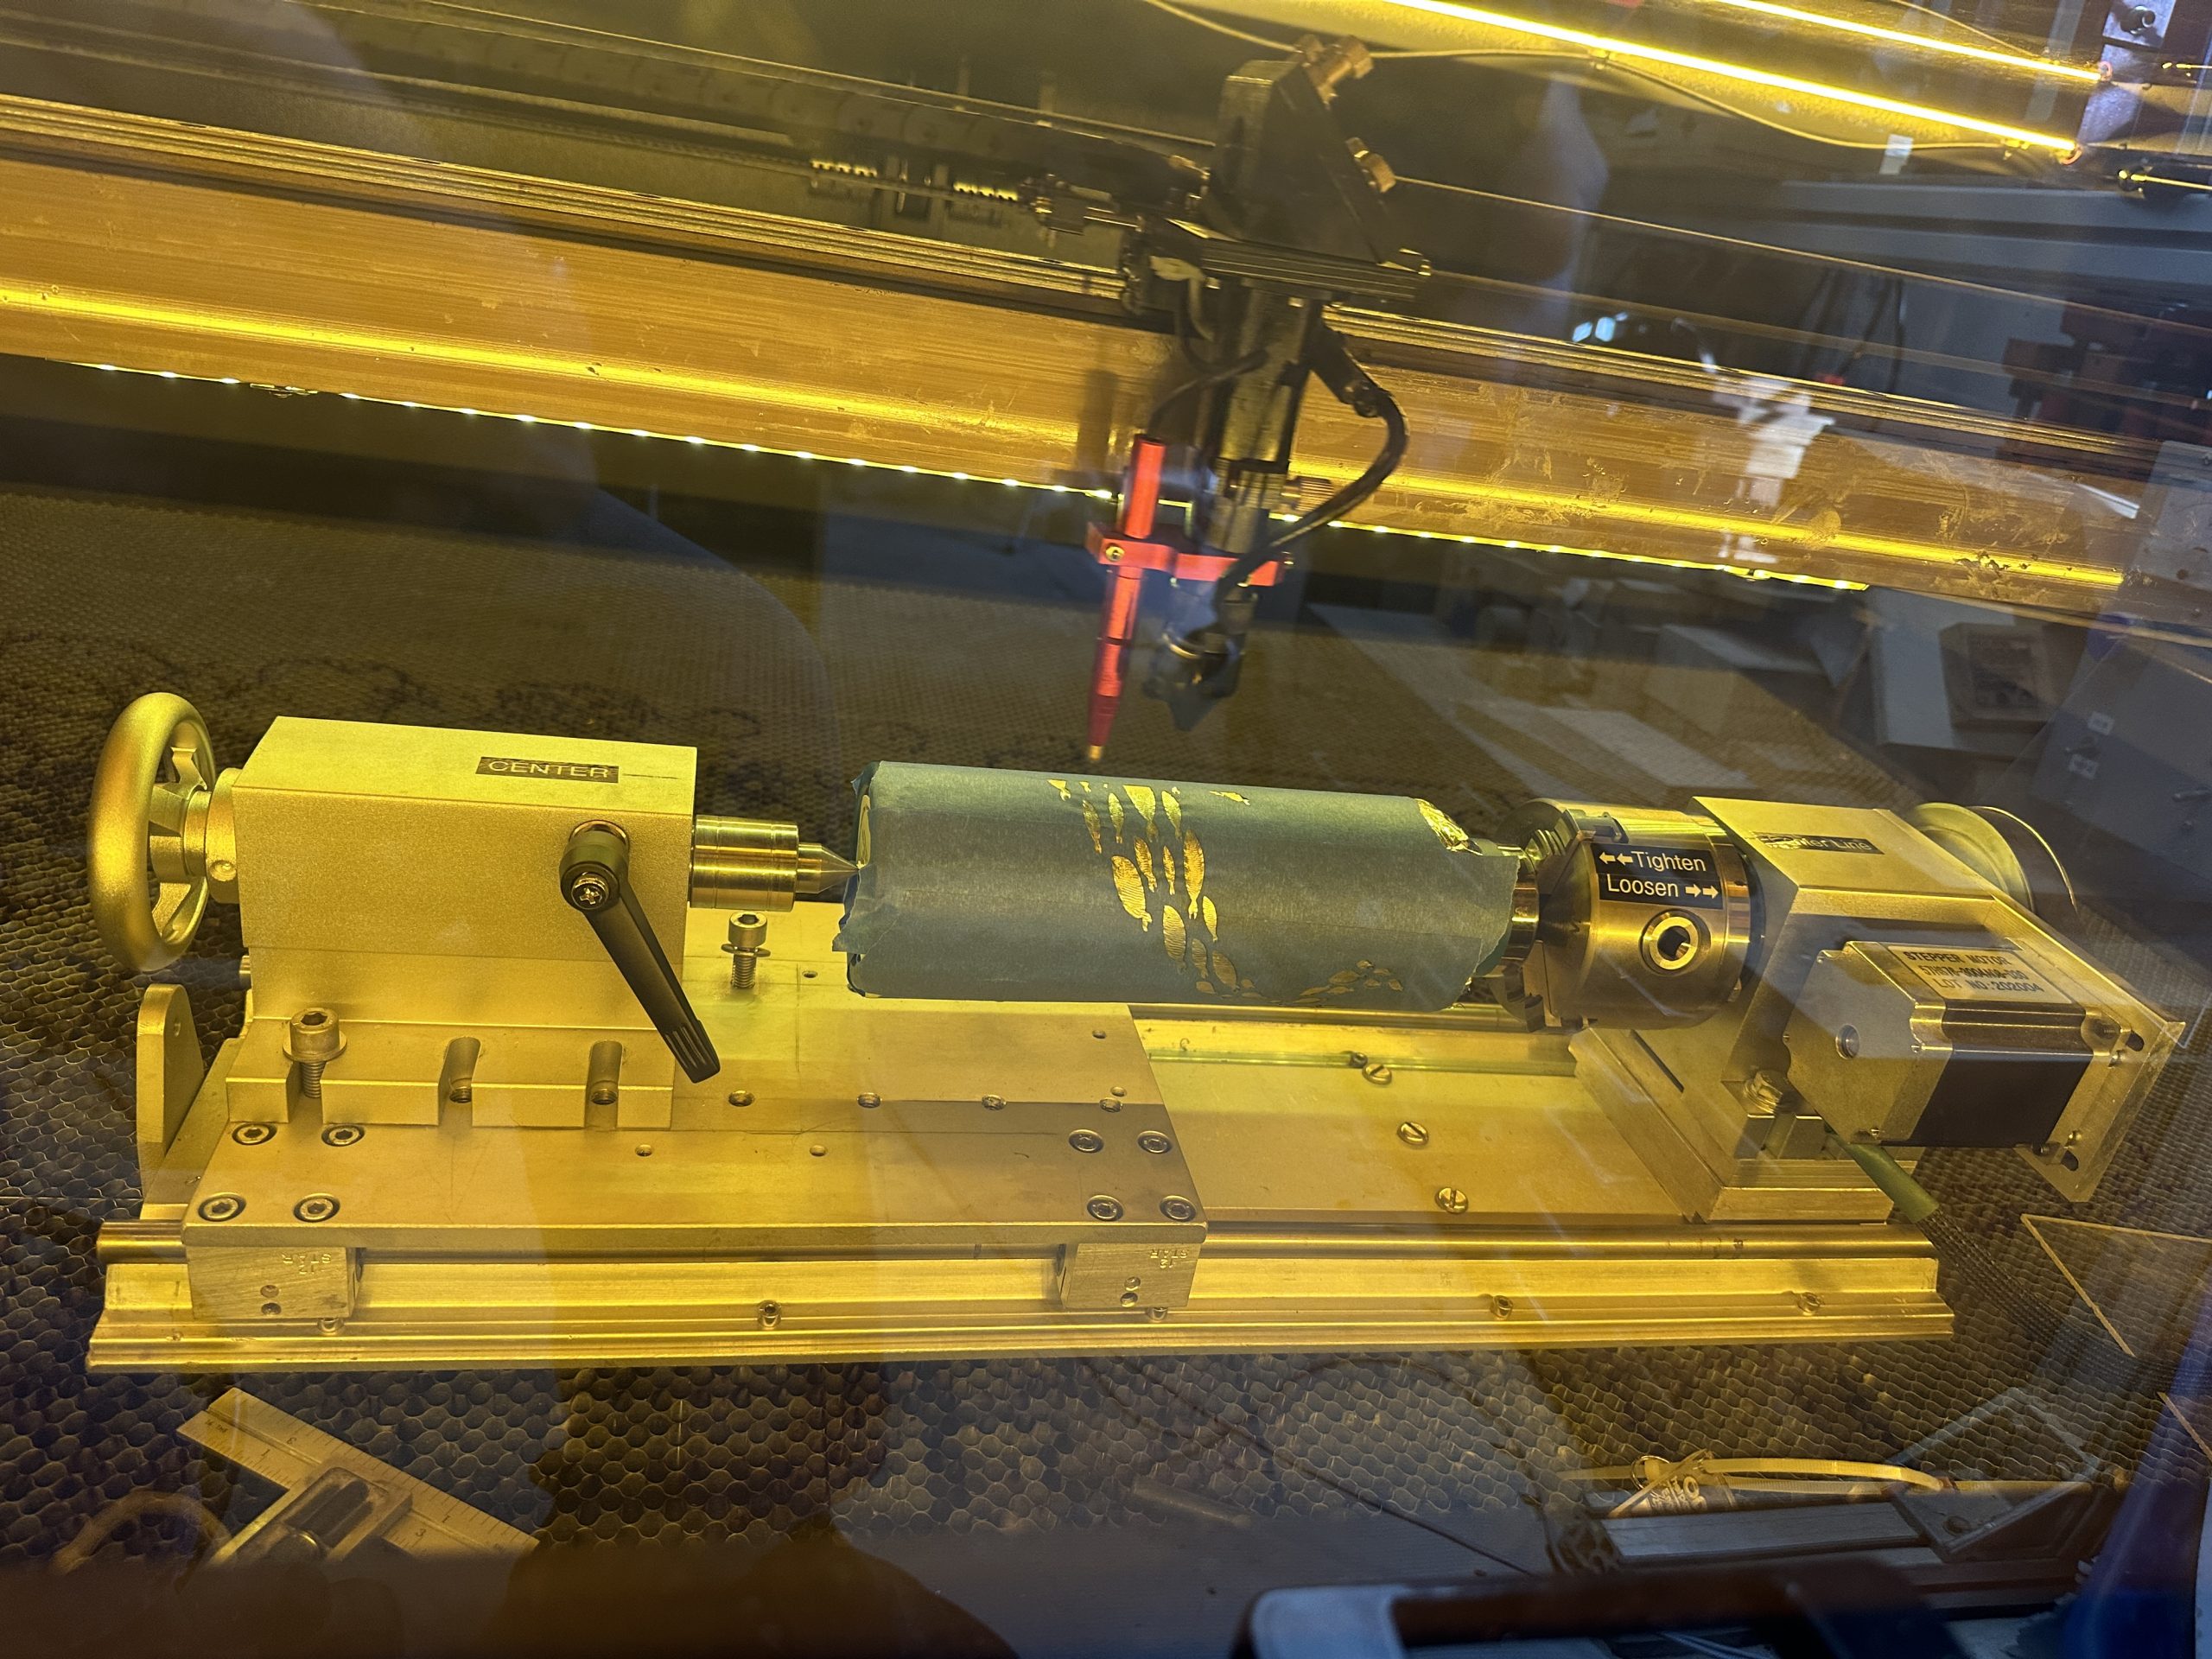
Above, you can see the engraving test pass under way in the laser. Below is the finished product alongside the flattened test piece.
My grand daughters (ages 4-5) work on projects with me in the shop and saw the water bottles for our dive group. They of course wanted one each. I then asked what they would like and they said mermaids and unicorns. So this set off another search for artwork. I found a nice unicorn outline that would work. More water bottles were ordered in a “sparkly” coating that we were sure the girls would enjoy. These would become Christmas presents for them.

Now that the girls were getting water bottles, Sawyer (age 7) would need one as well. For him, a “Space” theme was fitting. SO more artwork was found and combined from a couple of sources. The goal in his case was to be a true full wrap design with no visible seam. Once again the test was run and the rectangle was close to the right size (note the vertical line on the right in the second photo below). After the effort required to align the water bottles on the chuck without wobble (which would make the engraving out of focus and distorted), I had made a simple centering jig that snugly fits over the end of the water bottle and has a small 1mm hole for the tailstock center. This made alignment of the water bottles on the chuck a snap. Spin this a couple of times before fully tightening the chuck and everything will be set to go. You can see this below with the centering disc at the left end of the water bottle and the live center pressing into it.

With the foil and tape pulled off the bottle, you can see the full design. The vertical line hear the right side is the “bounding box” that was engraved for the test, but then turned off for the real engraving. You can also see that I had the individual objects overlap the edges of the bounding box on both sides so as to not have an obvious gap in the design at the “edges”.

This was not the end of the engravings. My daughter Elyse, wanted large 30 oz. tumblers for her coworkers. The 30 oz tumblers are larger than the rotary chuck jaws. However, clamped from the inside and with a new base for centering they were a breeze. The top edge of the tumbler was a aligned with the outermost step of the chuck jaws.

For cleanup of the residue after engraving I use a Magic Eraser and Simple Green cleaner.
The water bottles and tumblers were a hit as gifts. This is a significant addition to my laser engraving capabilities.
References: Laser Rotary Axis Installation