
Now that the lights have all of the pieces soldered together and cleaned up, it is time to cut the stems and get everything powder coated.
You need to be sure you have calibrated your oven and are sure of the actual temperature vs what is set. Additionally the parts should be placed to the sides, and not in front of the fan. The problem is that the powder coating cures at temperatures very close to (if not exceeding) the melting point of the solder. So it is very possible to have your assembly fall apart or significantly change shape while curing the powder coat. Below is a chart I pulled from the Kester web site: https://www.kester.com/Portals/0/Documents/Knowledge%20Base/Alloy%20Temperature%20Chart.pdf As you look at the chart, the solders we have commonly used for electronics, stained glass work and plumbing in the past are referred to as the “mid temp solders”. Note that the lower end of their melting range is 361F. The more modern lead free plumbing solders that I have run across are the Sn97Ag3 , and SN96.5, Ag3, Cu0.5. These have melting points above 420F. This gives us a TINY bit of wiggle room above the curing temperatures required for the powder coat.

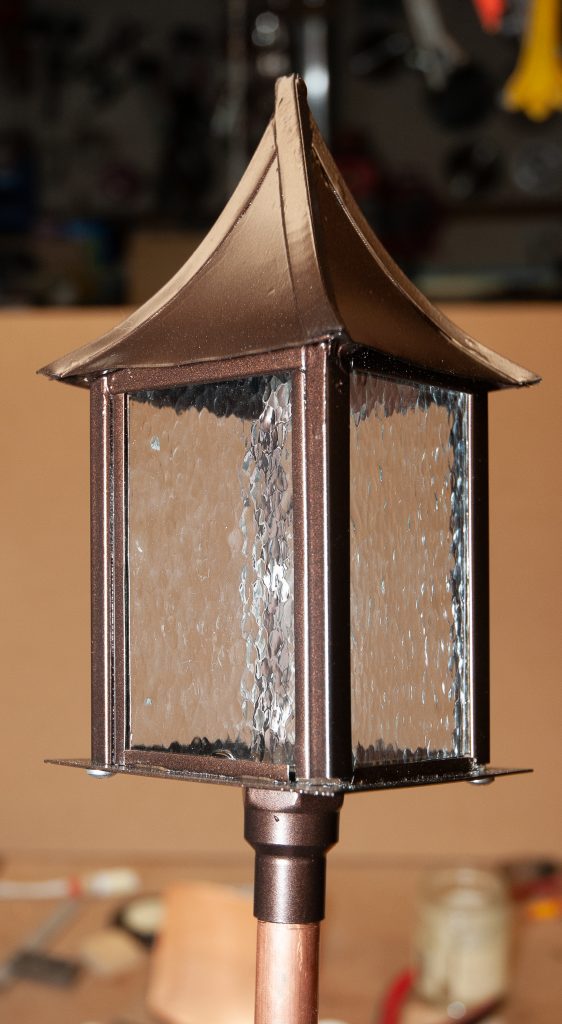
So far I have used powders from Eastwood and Prismatic Powders. The Eastwood powders typically recommend 460F until the powder starts to fuse and then 400 for 20 min. This does not work with solder as I demonstrated with my first test piece. The solder joint (60/40) opened up during the curing. This lead to some more research and there were a number of posts that said a powder that cures at 400F / 200C for 10 min (as the Prismatic powders I was contemplating) could also fully cure at 355F/180C for 15 min. Note that this is not from Prismatic (I should really contact their tech support for confirmation). I ordered the candidate Prismatic powders and ran some samples. Sure enough, the powder seemed to cure very nicely at the reduced temperature (nice gloss and the metallic flakes glistened). My oven was calibrated against a Thermoworks Chefalarm and an IR thermometer. It runs +5 to -20F vs the set temperature once warmed up and allowed to soak for 15 min. I also decided to avoid placing any parts directly in front of the fan but rather off to the sides. I assume that the hot air coming from the fan is likely hotter than the “overall” oven temp. I had switched to using “lead free plumbing solder” to assemble the parts. The chosen powder coat was Prismatic’s “Soft Misty Copper UMB-1352“. So now was the time for the test of a complete lamp. This was the prototype path light. Everything held together and the finish was great.
So this proved that you CAN powder coat soldered parts. However, you MUST be careful in you choice of powder, solder, and oven calibration. There is little room for error and oven temps often swing +-20 to +-30F with greater swings during warm-up or when re-heating after opening and inserting the parts. It may be a good idea to line the bottom with fire bricks or tiles for more thermal mass, but I have not tried it. I did get all 8 lights powder coated without incident.
Prior to powder coating, the parts need to be bead (sand) blasted. I am using 80 mesh glass beads at 45-50PSI. The reason the pressure is so low is that the beads will fracture – turning to dust if the pressure is too high (increasing your materials cost) and the brass will deform under the pressure of the blast. This is most notable with the brass U which should be blasted at an oblique angle. Blasting straight on, can completely deform and close the channel. Once the parts are bead blasted they are then blown off with an air gun and hung on stainless wires from the oven rack.
The process of bead blasting and powder coating can be seen below:
While my powder coating setup is a bit low tech, I am pleased with the results .
The lights get a bipin socket for the LEDs hotmelt glued into the base plate . Extension wires are soldered on. I used 5 watt LED “corncob” style lamps. These run off of standard 12 VAC low voltage wiring (and are darn bright).
The posts / standards are 21″ long 1/2″ copper pipe. This was the longest length that would fit horizontally in my oven for powder coating. They are rather tall, but this is needed as my old lights would repeatedly get buried in snowdrifts in the winter. The “anchor post” was made from 1/2″ galvanized iron pipe. I used 24″ sections, cut in half, ends split and then pounded to some semblance of a point. The same 1/2″ copper to 1/2″ threaded adapters that were used under the base of the light were also used on top of the stake. It is not necessary to solder the posts together. The friction fit with a bit of powder coat overspray is more than tight enough.
I found some new screw together vampire tap connectors that worked out very well to connect into the existing 14 gauge cable that was left from the old lights. These are far better than others I have used in the past.
I think the finished lights look great and are a definite improvement over the several previous light sets.

Please note that I may get some revenue from the links.