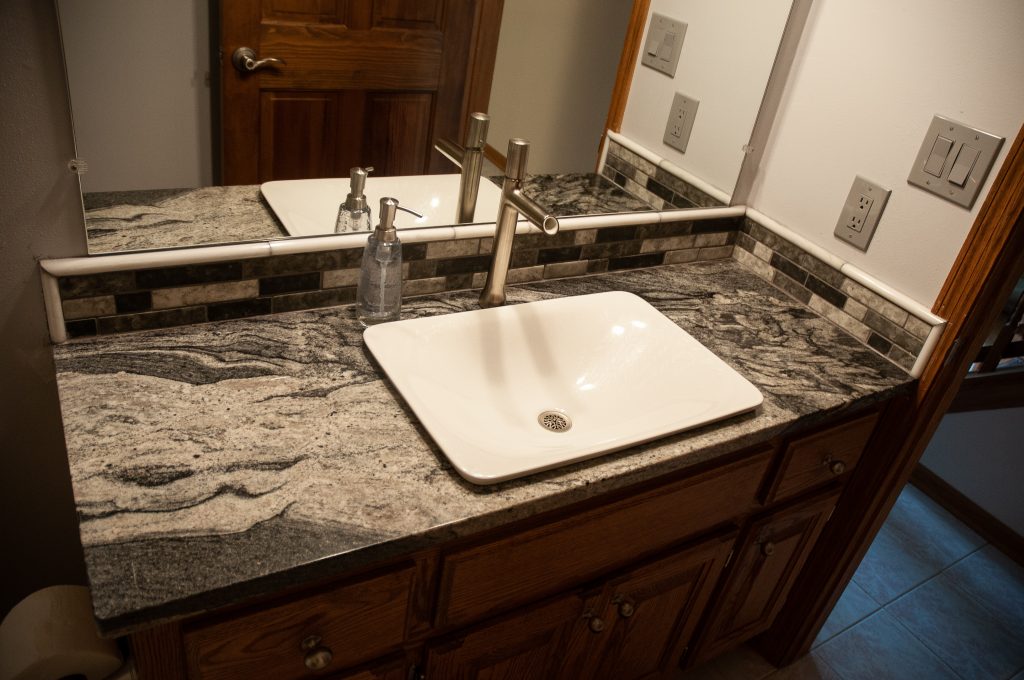
The first to go was the powder-room on the first floor. The old countertop came off easily. I had already installed shut-off valves for the faucet and had new a new P-trap and extensions ready as the drain holes would not line up.
I was able to carry this top by myself. Teal helped to guide it into position and hold it up while silicone seal was applied to the counter to glue it in place. We then carefully lowered it down and slid it the last little bit still at an angle. The backsplash is mosaic tile on top of Hardi backer board so that it is not too far recessed behind the marble pencil trim.
To drill the faucet hole I placed the template and clamped it down. This makes starting the ore drill / hole saw easy and prevents it from skittering around and damaging the top. I tried adding water but immediately sprayed out all over. Just place the vacuum nozzle nearby to catch the majority of the dust.
Similar process for the master bath. However when I pulled out the old tile top, the backsplash was about 1/4″ too low to fit over the new top. So I had to pull off the old tiles and broke two. Fortunately 24 years ago when I originally installed the tile I had saved the spares in a dark corner under the basement stairs. The old tiles needed a bit of clean up on the stationary belt sander. So now the”new” backsplash was installed and matches that around the shower.
Sinks are Kohler, the top faucet was a Kohler Toobie, and the master bath has a Hansgrohe. The savings on the tops paid for the tools and upgraded fixtures.
Funny point. Teal was sealing the granite and we wondered about using the sealer on the quartz. She looked it up and came away laughing. It is not needed as the only thing that stains it is permanent marker, which is why I had to polish off my measurement marks.


