Rails and Slats
Today we were mortising the crib side rails and slats. The lower rail mortises were done on the CNC router. Overall, there are 50 mortises to cut for the slats.
The front rails are 5″ tall and the end rails are and 6″ tall. So these had to be clamped upright to the left pf the main work area on the router top. A new fence was made on the left edge of the work area to support the rails in the vertical position. The fence was made from some 2×2 scrap stock. Once drilled and bolted in place, the router was used to cut the left face so that it was perfectly aligned with the router Y axis and exactly plumb.

As you can see clamping the ends is quite easy. This is adequate for the crib end rails but not enough for the long front rail.

The front rail is about 53″ long and needs some support in the middle. There is no good way to add a conventional clamp as are used on the ends. At this time, the router does not have enough vertical travel to clear clamps placed over the top of the boards and there is always the fear of a crash with a misplaced clamp. So this was solved by taking a scrap of 3/4″ plywood and sawing it into a pair of wedges. These are placed between the stock and the side rail. A few taps with a hammer, and the wood is secured.

 Here you can see the front rail clamped in place ready for the cuts.

Top end rail mortises
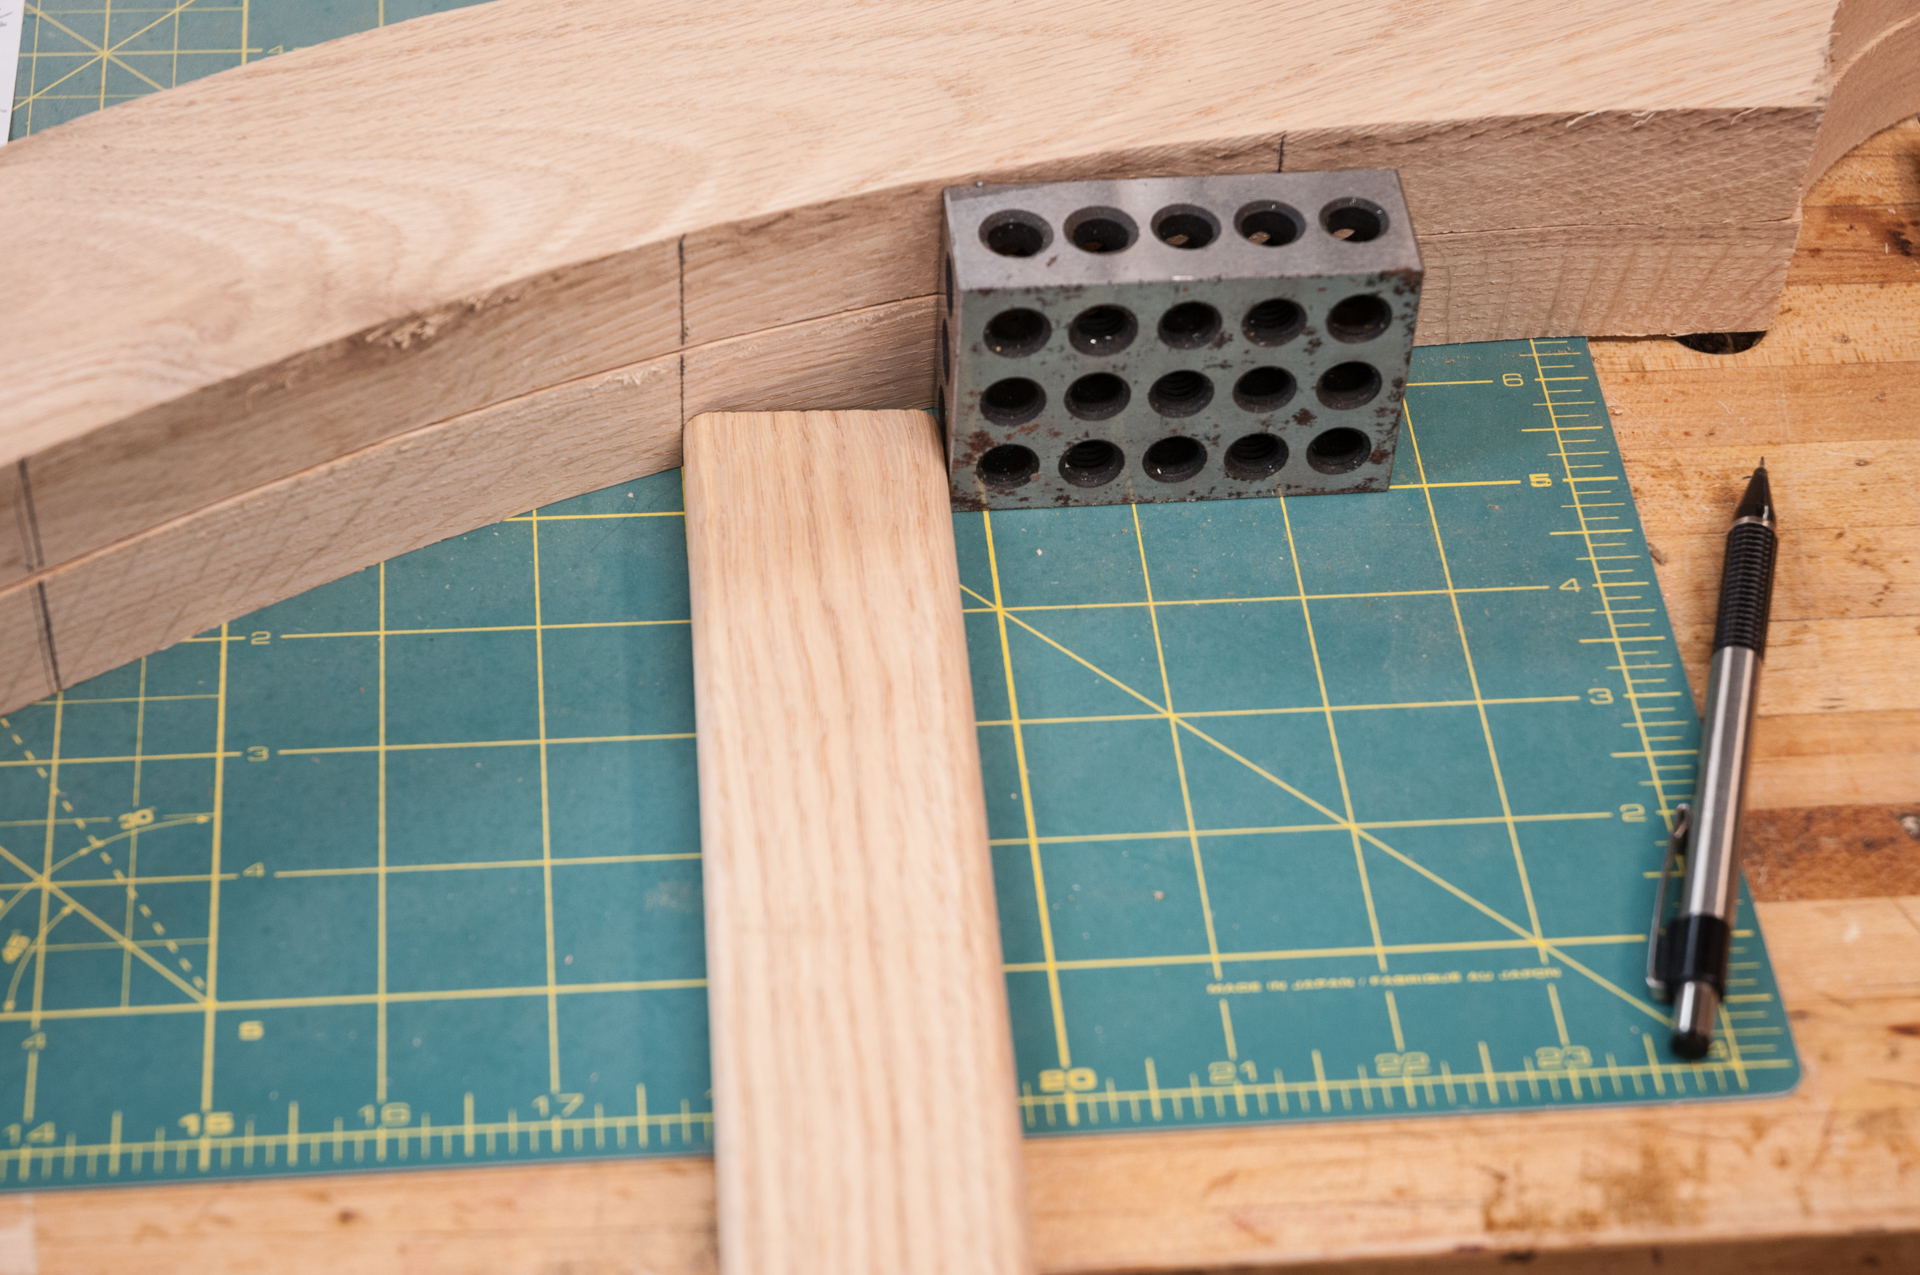
The top end rails need to be done conventionally with a plunge router and fence. However the start and stop points for each mortise need to be transferred to the parts. However they are curved and there is a 6.5″ rise from the front edge to the back. Armed with a dimensioned drawing and a cutting mat, the parts were aligned to the grid of the cutting mat and a 1-2-3 block was then used as the vertical guide. A block of wood would work as well, but the mass of the metal block made things easier. Here the leading edges of each mortise are being transferred.
 The mortises now need the trailing edge marked. This is easily done by aligning one of the slats with the leading edge mark and then bringing the 1-2-3 block up to it and then making the mark.
 The slats are 0.5×1.75″ and the corners are rounded over with a 3/16″ radius. This is done at the router table, which is an extension of my table saw. Feather boards are placed to guide the cut (fewer ripples) and protect Teal’s fingers. After the photo Teal tucked the ties of her sweatshirt in.

Top Rails
The front and back top rails are curved as can be seen in the end view below. The rails start as a rectangular piece of stock 1.5×3″. 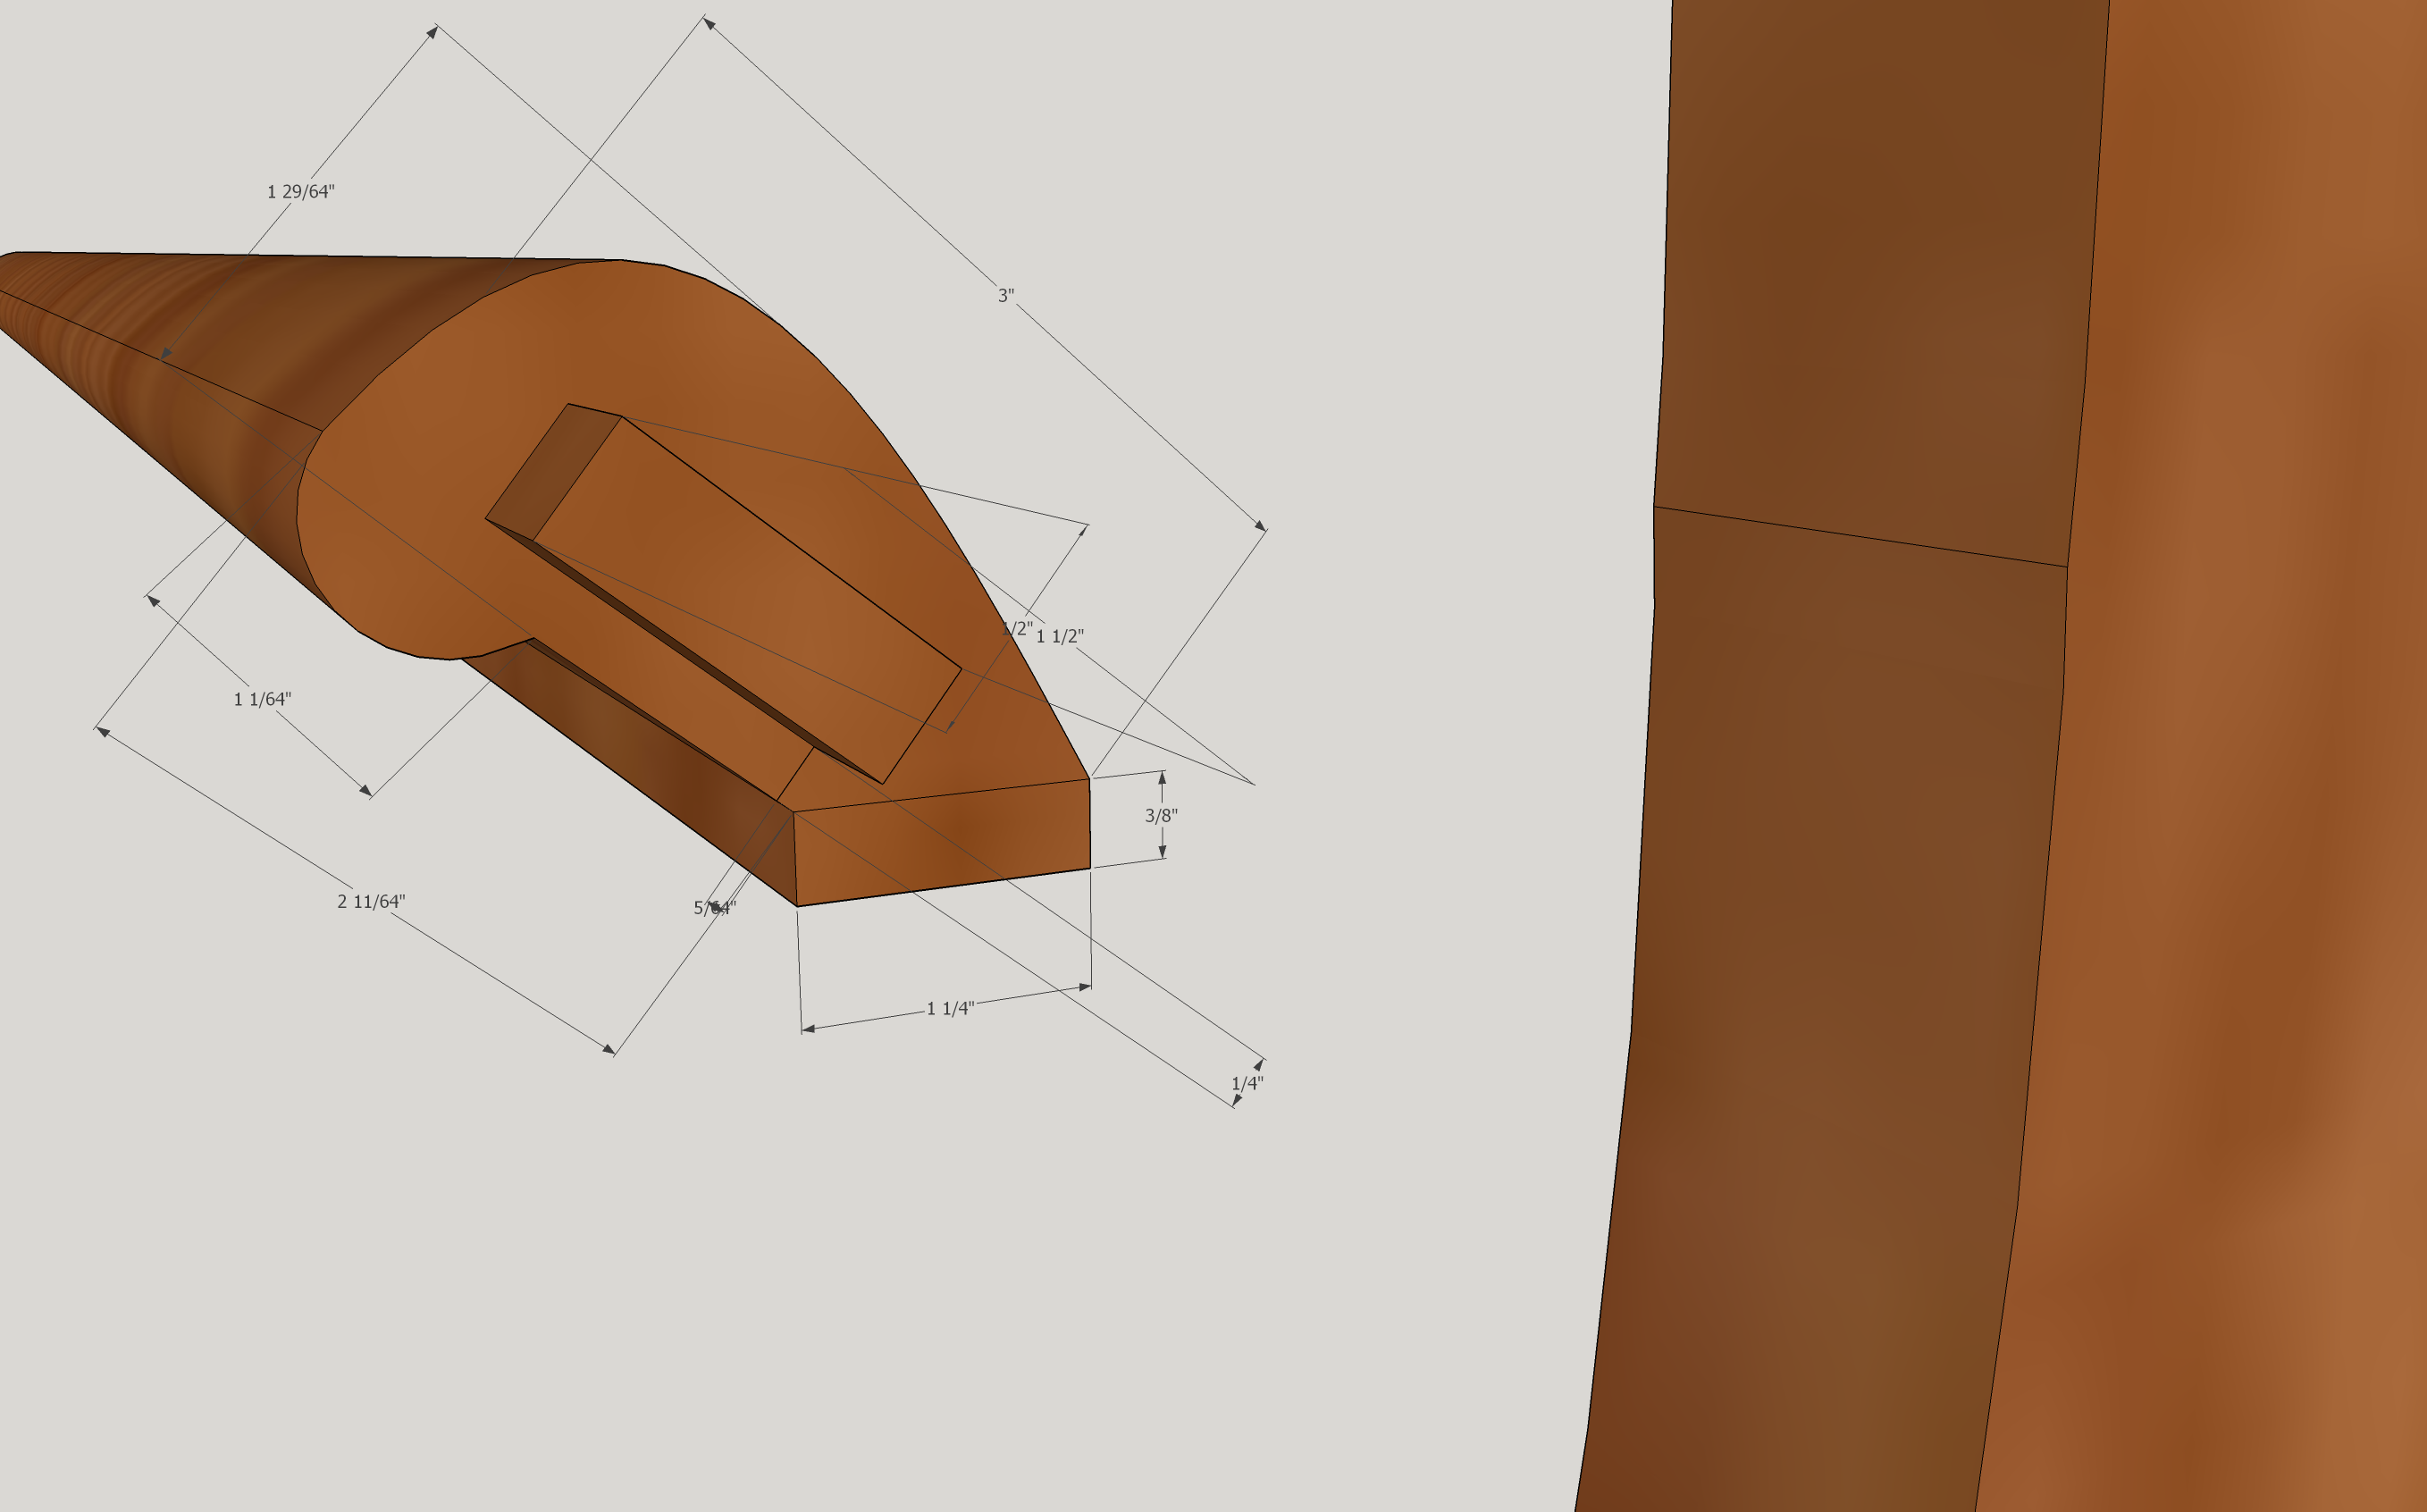
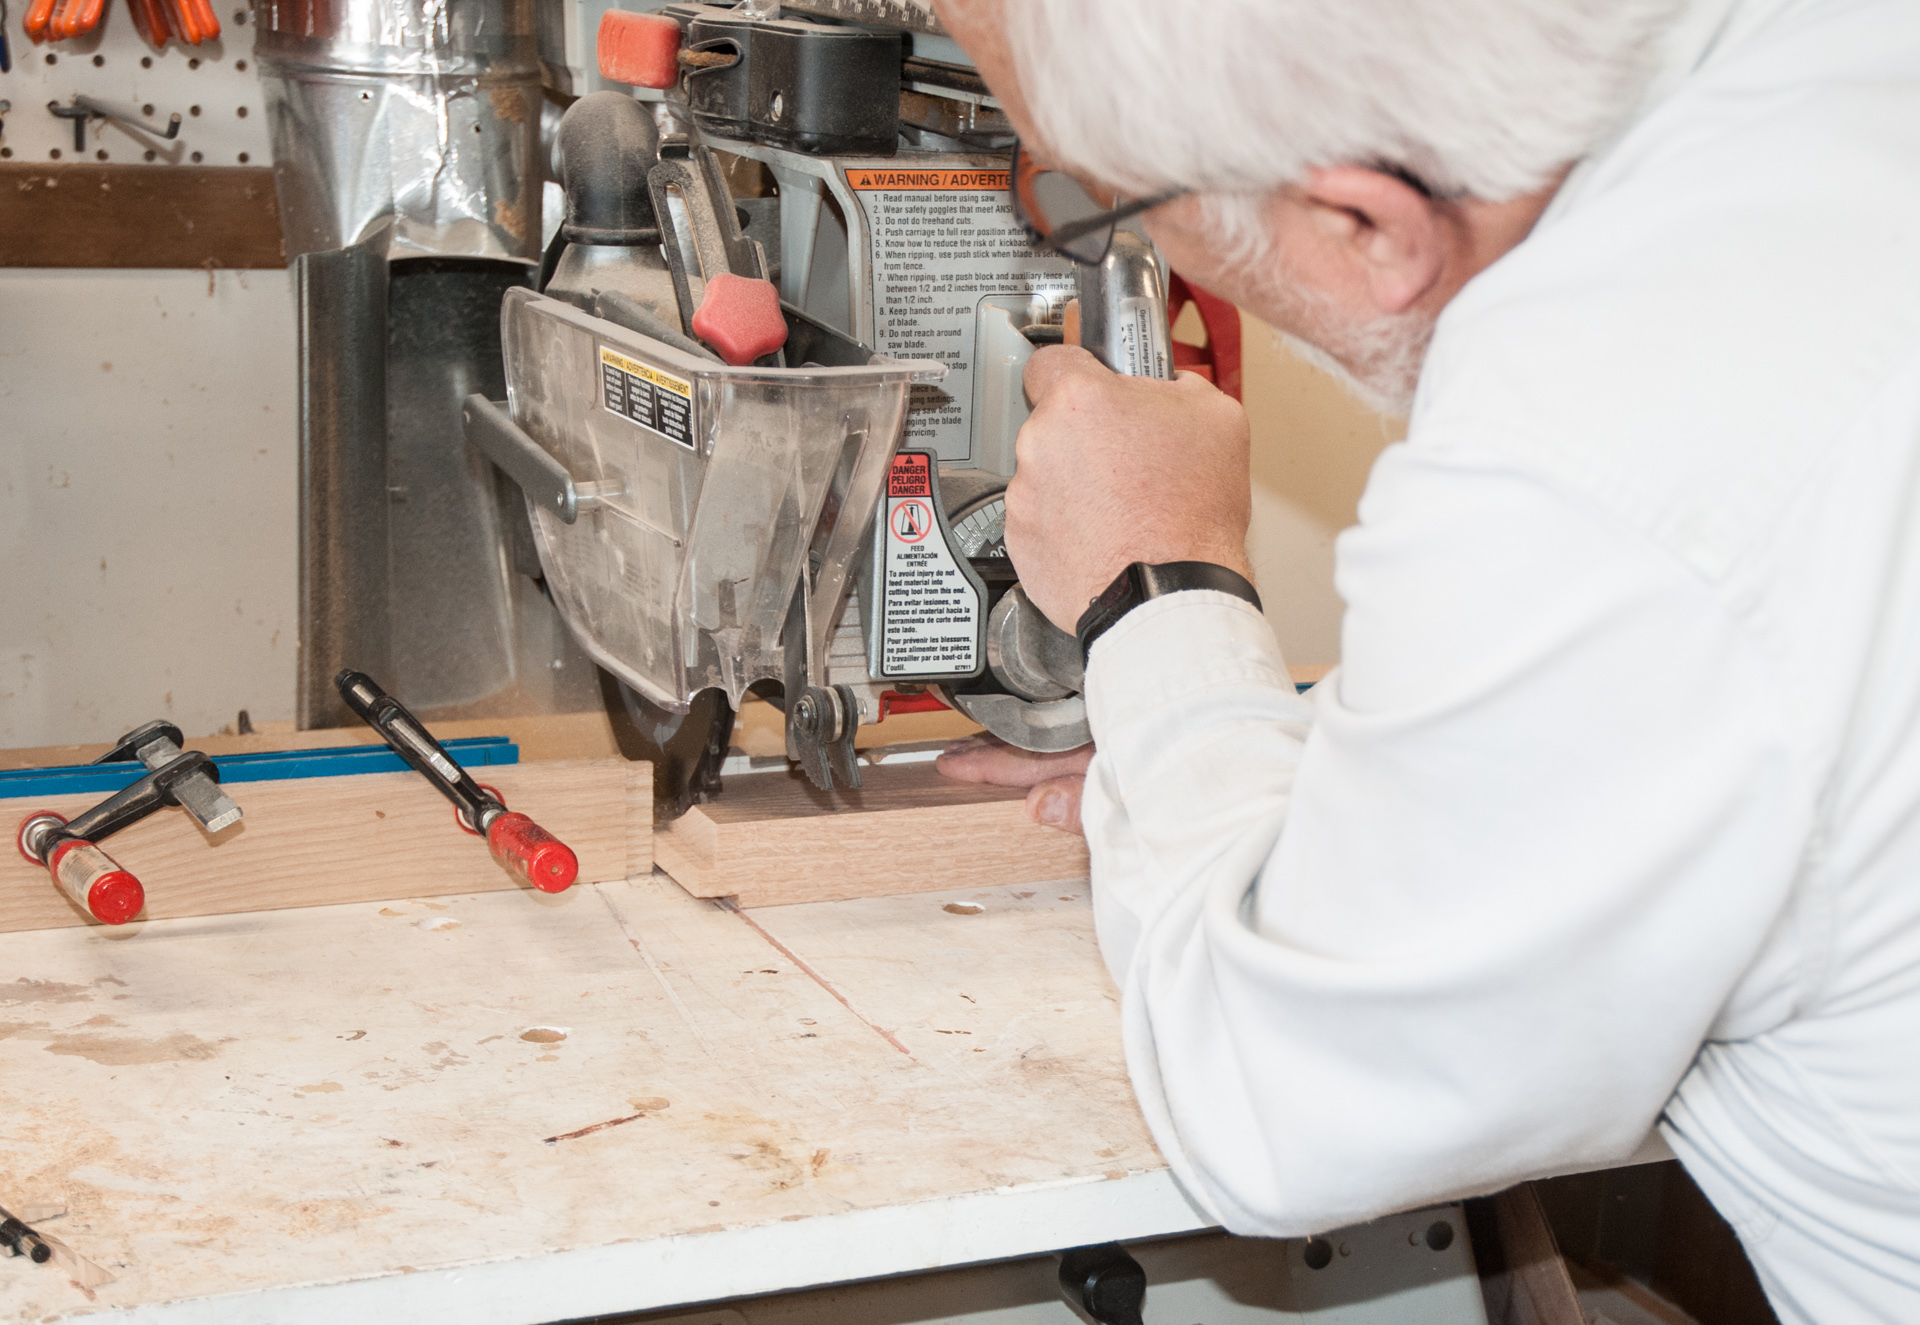
The first task is to cut the tenons on each end. This is done at the radial arm saw with a dado blade. An end stop is set for the length of the tenon and they are cut in 2 passes as you can see below where I am cutting the second pass. Having the digital readout on the height adjustment greatly speeds up the setup. The next step is cutting the bottom bevel which is at 38.5 degrees.
 The bottom piece of the rail is 3/8 x 1 1/4″ and the mortises are again cut on the CNC router. However at that point the stock was left thick for added stability and rigidity and then after they were cut the stock was ripped to the 3/8″ final thickness.
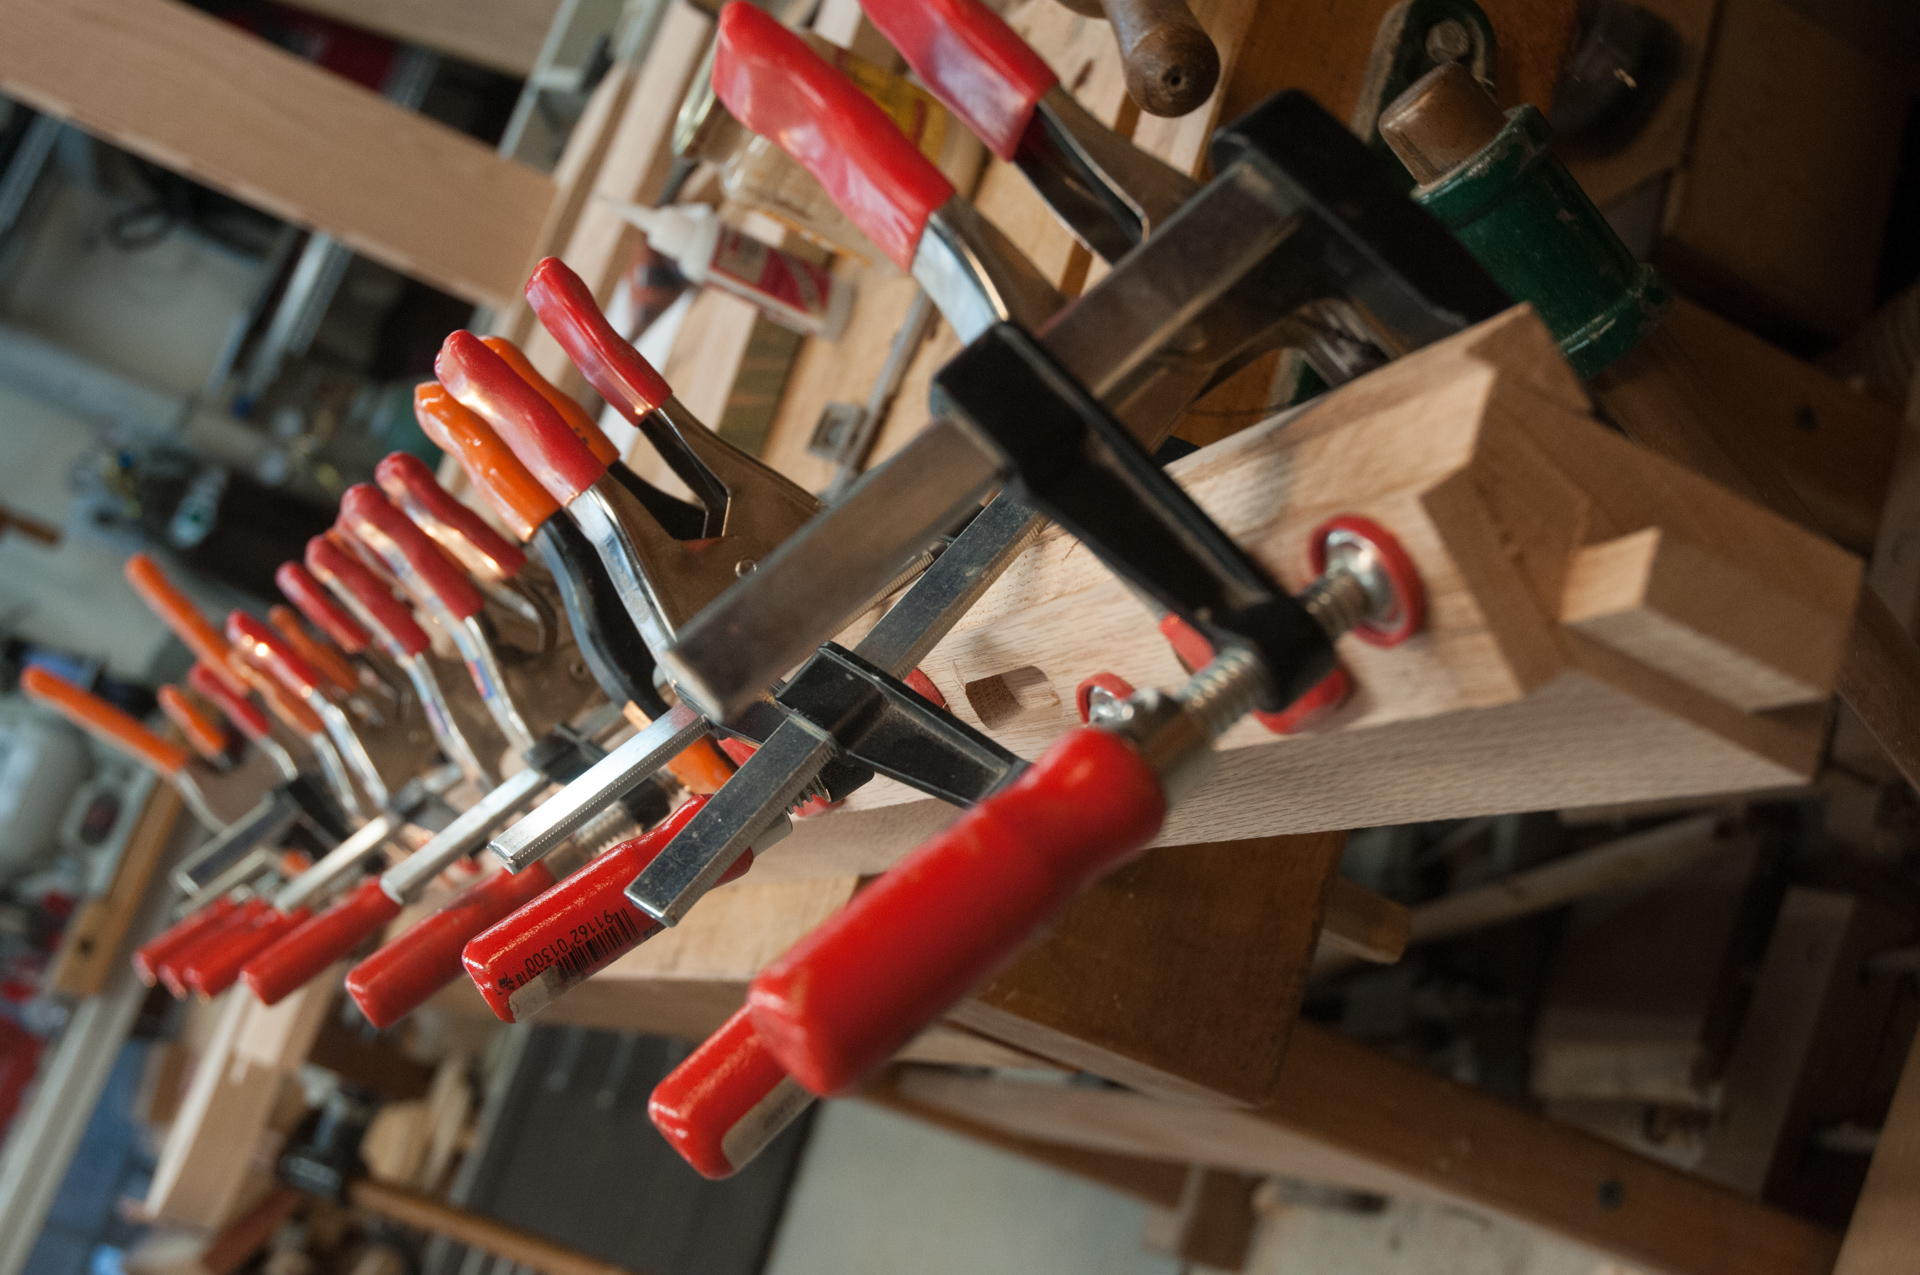
Here the bottom piece is being glued to the rail. Note the off cut from the angle is being used to provide a grip for the clamps. It is lightly tacked in place with super glue (and some slipped). This is another case where using many clamps with light to medium pressure works better than a few clamps with high pressure.