Initial testing
One of the goals when making the CNC router was to be able to do general woodworking joinery including dovetails, sliding dovetails and mortise and tenon joints. The mortise and tenon capability was proven out when I did the blanket ladders. The dovetails needed another project and the dresser project with 27 drawers is a perfect fit.
The CNC router was set up with a special base for the dovetails and the horizontal fences were CNC routed to final spacing in place (20″ apart) to match the vertical fences.
Over the last week I had prototype the joints using JointCam and using scrap pieces of plywood that were of the approximate thicknesses of the drawer fronts and sides. I tested both equally spaced and equal spaced dovetails and both turned out well after a bit of initial tuning. Teal liked the equal spaced better and these could be done with both pins and tails in one pass so this was chosen.
Wood for the drawers
The drawer faces are white or red oak depending on the dresser . At this point I am doing the top row of smaller drawers. The 3 top drawers for each dresser are cut from a single board so that the grain runs across the face of the dresser. If one is botched then all 3 are scrap. So there is a bit of tension here with some nice pieces of quarter sawn white oak (big flakes) and near quarter sawn red oak for the drawers.
The drawer faces are approximately 3/4″ thick. The drawer sides are 1/2″ nominal (0.47″ actual) baltic birch. I like the baltic birch plywood for drawer components. The even coloring and lack of voids make for nice side pieces.
Now for the “production”
The off cuts were again tested and everything seemed to work although the joints were a bit looser than expected from the earlier testing . Jointcam has a setting for adjusting the fit and this was used. New pieces tested OK so on to the real stuff.
At this point things fell apart. The router bit was progressively creeping out of the collet during the cuts. This was apparently exacerbated by the oak drawer fronts. I reduced the feed rates and increased the spindle speed but it was still happening. I tried a new dovetail router bit with a longer shank and really cranked down on the collet but it was still creeping out and then the shank of the router bit snapped just past the collet. Time for a beer (or 3) and think through the alternatives.
Plan B
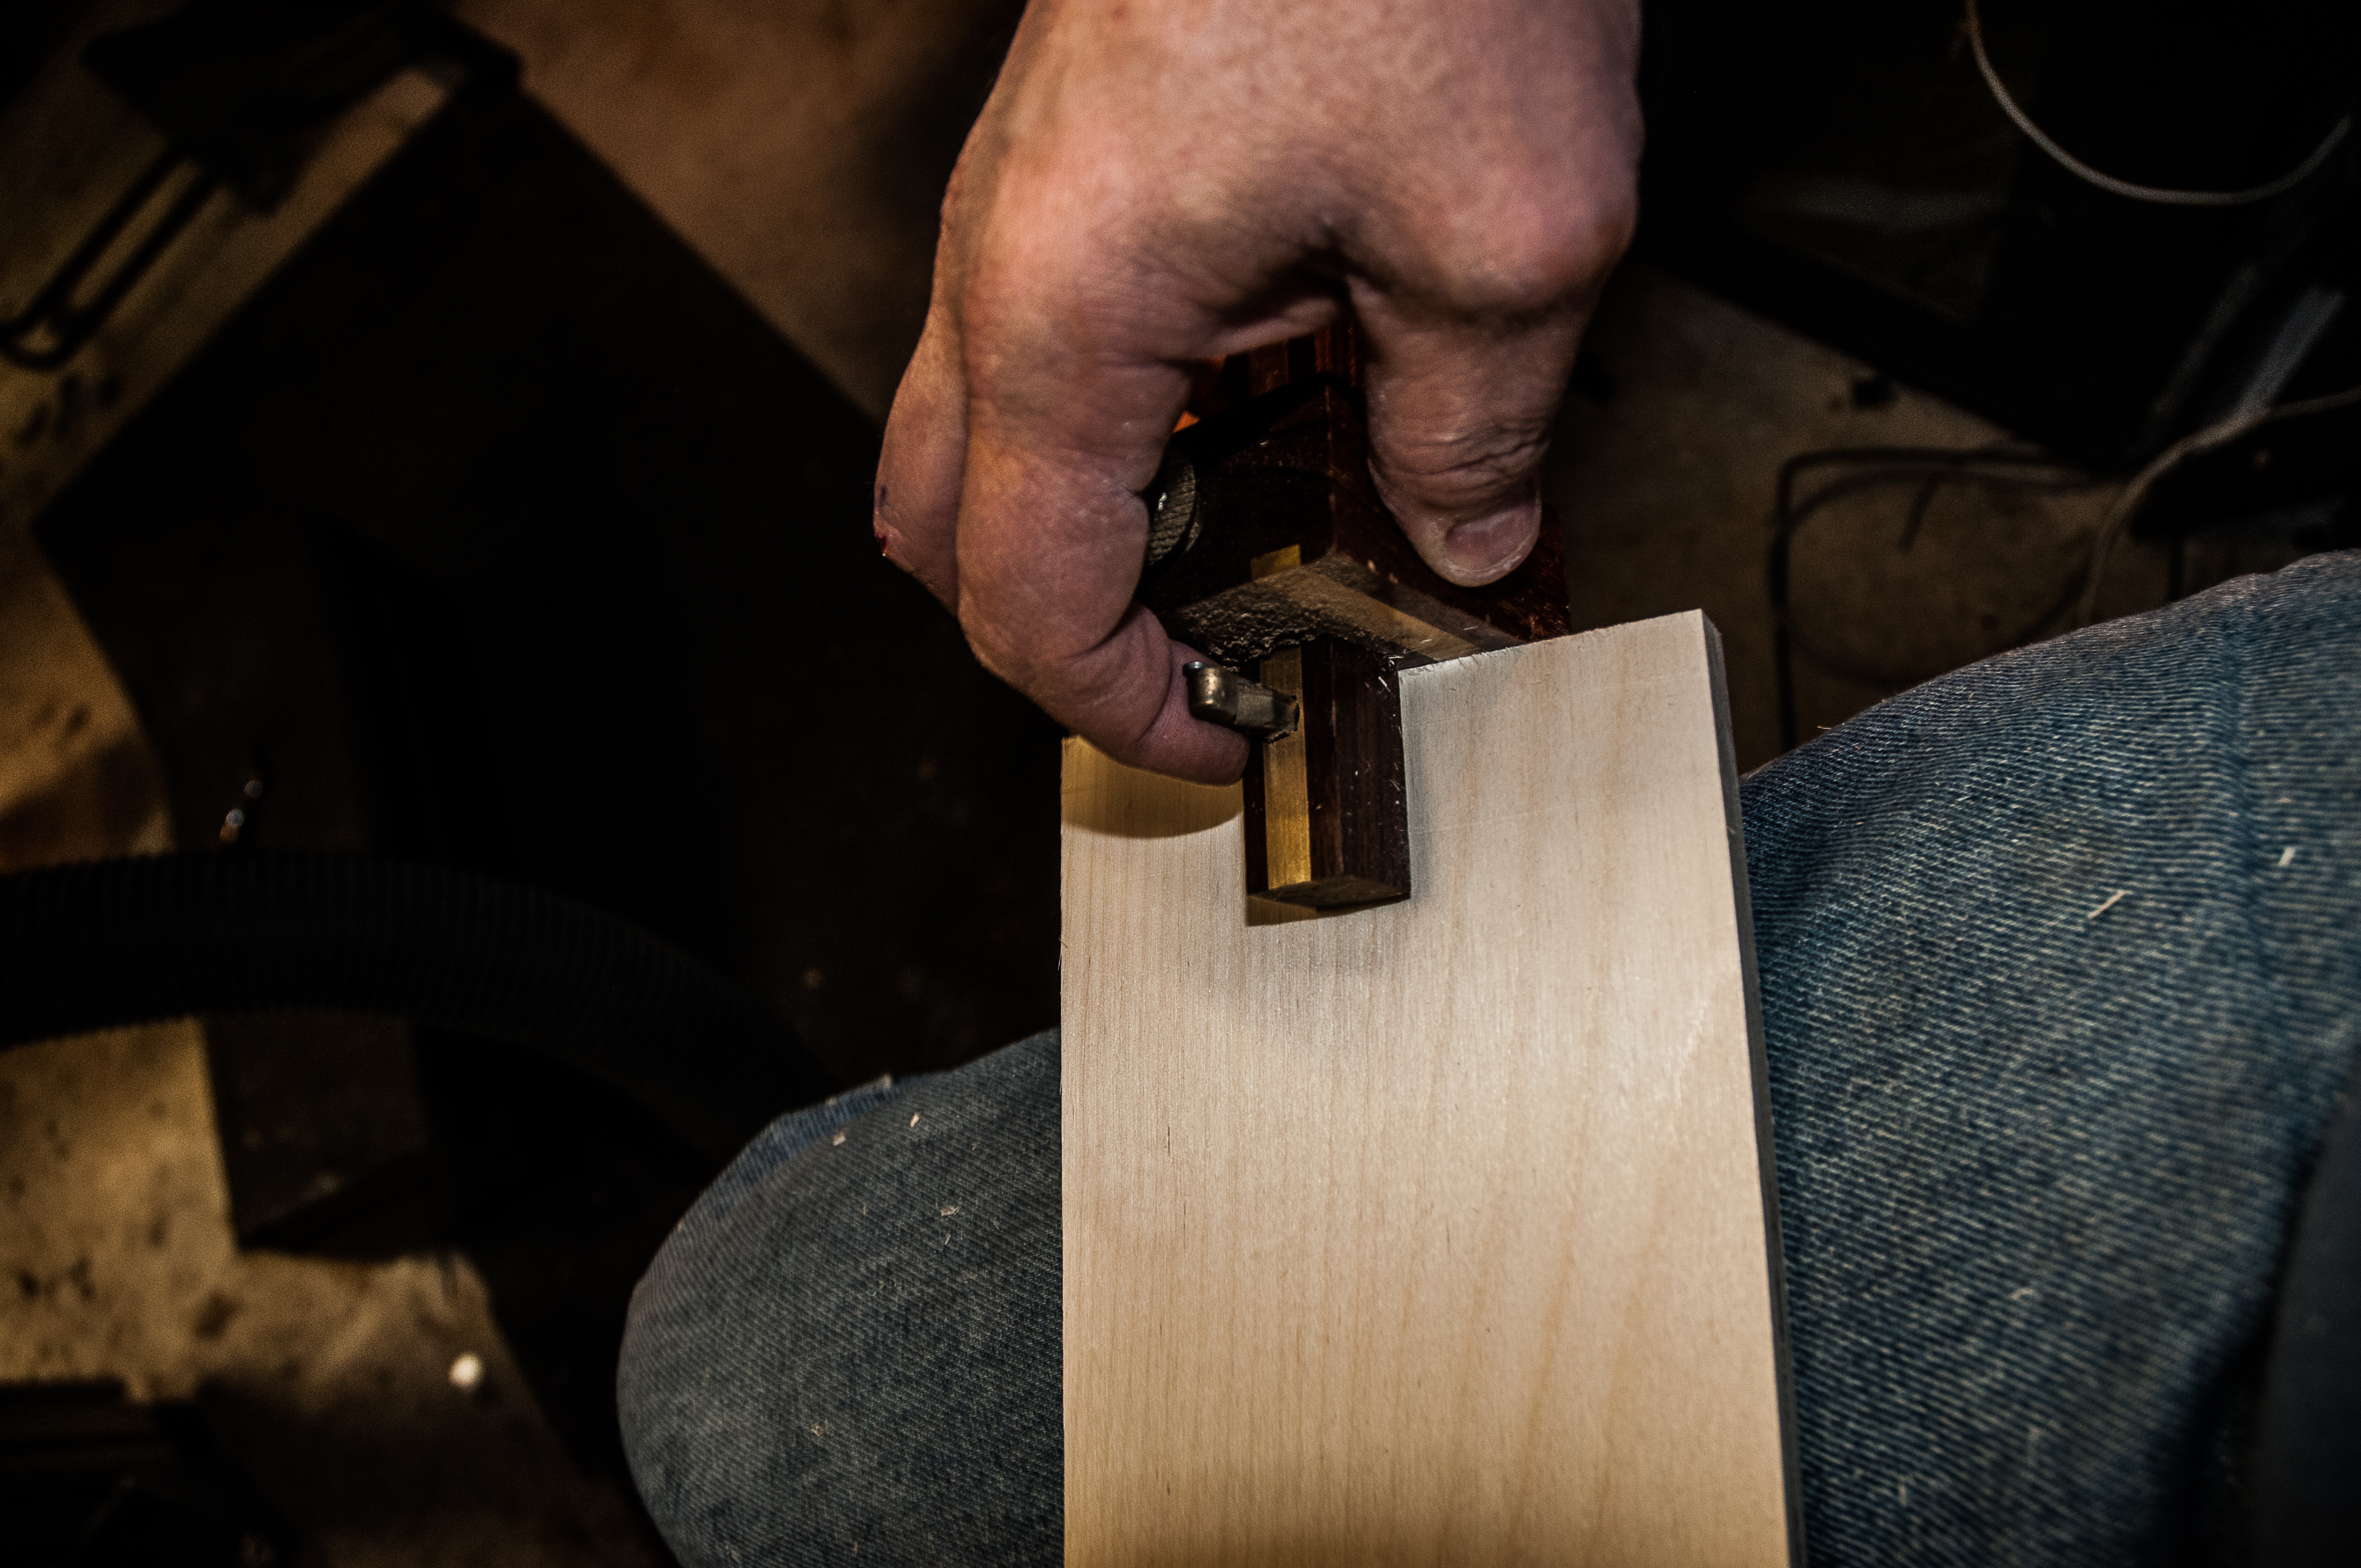
There is not a lot of info on the net about CNC cutting dovetails. There are bits on commercial work where you cut everything flat and add a false front, but little on the trials and tribulations of doing this properly. The JointCam info mentions the use of roughing and dovetail bits and passes but no guidance on when to use this vs single pass. So after the beers and sleeping on it I decide to be conservative and use a roughing pass (straight bit) and finish pass with the dovetail bit but switching to a 1/2 ” shank dovetail in the hope that it would grip better. I had one more of each on hand – 1/4″ straight and 1/2″ 14 degree dovetail with 1/2″ shank. As you can see from the photo below, the pieces are cut 2 at a time as right / left pairs.

Testing
Testing went well. However it is tedious as you need to do a bit change for each test (straight and dovetail passes). So by late morning it was a go for this method. Now I just had to make a new set of drawer fronts for the dresser that had them ruined in the first try.
I also found that while JointCam makes a scoring pass for the dovetail / finish bit, one is needed for the roughing pass on the plywood sides. The side faces tend to splinter easily. So I took a marking / cutting gauge and scribed a line across each of the sides before routing. This contained the splintering.
Production part 2
I did the drawer fronts first. These were labeled as to sequence on the dresser, inner face and top edge. The top edges were placed against the fences on the CNC router.
First pass for the stack of pieces was with the straight bit. After all were run, I changed the bit to the dovetail (and it is nice to have a soft mat under the edge of the CNC to catch the dropped bits vs. the concrete floor).
Now that the fronts were done (pins) and they fitted reasonably well against the test sides it was time to do the sides (tails). These were cut and after the first pair I test fitted them to the fronts. They were close but there was still some variation form one front panel board (set of 3) to another. One small adjustment of the fit clearance (-.001 to +.004″) was made in JointCam for the sides to match the fronts. At this point the sides are labeled right and left (blue tape on the rights) and for each dresser set.
Video of the CNC router cutting the joints is here: Dovetail cutting
Final fitting
There was still some tweaking to do. One set was still tight even with the +0.004 correction. These pieces were tight and had a gap at the end of the tails. So I took this set of 3 to the drum sander. I took off about 1/64″ on the inside face and everything fit nicely. So now I have the 9 drawer faces and sides fitted up and ready for the dadoes for the bottom and backs.

