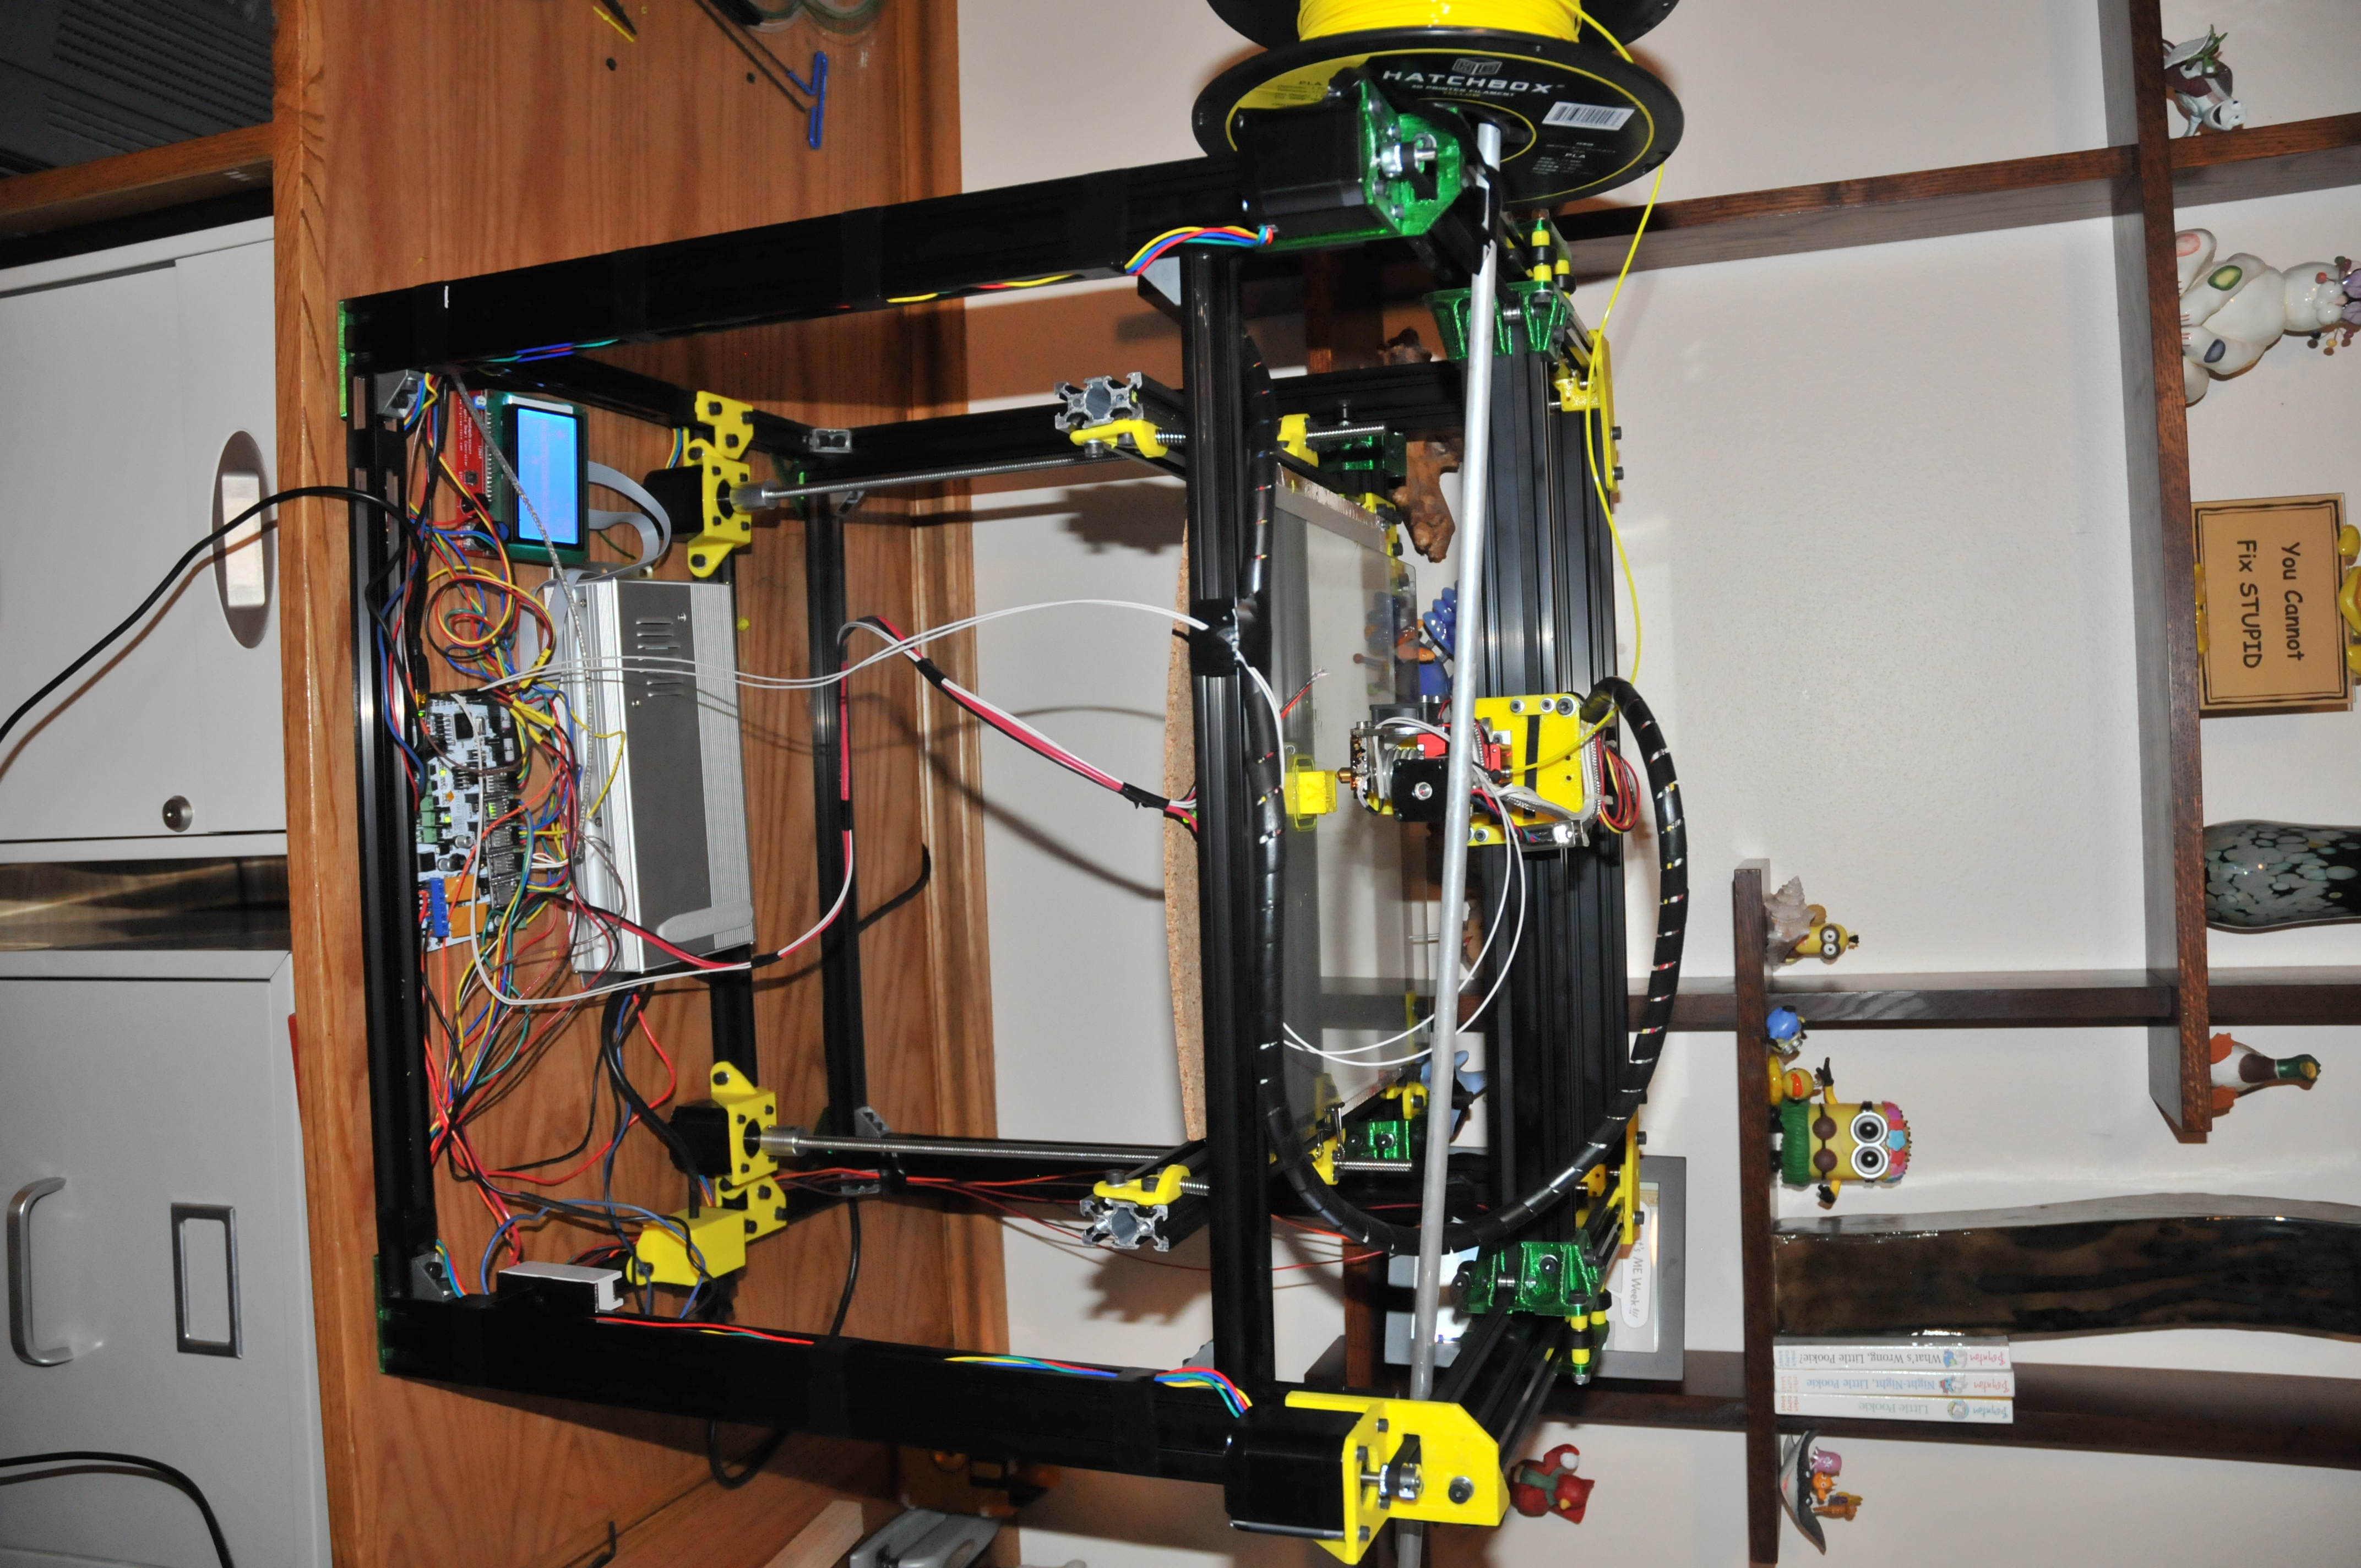
The printer is now running It is roughly assembled (as you can see) and now it is time for fine tuning and making parts for itself. I love it when a tool is at the state where it can help finish its own build or rebuild making parts. Cases for the boards, cable retainers, cable covers, cable chains, proper spool support are all on the short list.
There has been a bit of additional grey hair added getting here:
The Rambo control board will not connect at all via USB3. It must be a USB 2 connection . This is the case for both the Arduino downloads and Repetier control software. I did not pay attention when I originally programmed the board and then subsequently rearranged the USB ports…
Along the way the first Rambo board stopped communicating via USB. Many tries to get this going, re-download drivers, try to re-flash the USB chip but to no avail. I ended up returning the first one (still barely within the 30 day amazon return period) and got another. So far so good. I was able to get it programmed and it is running well so far.
As mentioned previously the thermocouple adapter wont work with the 12864 display. So I have jammed a thermistor on top of the heater block as I don’t want to pull out the thermocouple temporarily and risk damaging it and the thermistor is working OK for now. It is still off by about 15 degrees, too hot, and the temperature control overshoots. However the adapters are on their way.
The new nozzles form Micron finally came. It takes almost 4 weeks from Israel with normal shipping. I am currently using the high flow 0.5mm nozzle.
Fan for the print head heater must be directly connected to 12v. Not fan 0 or 1 . It needs to be always on. Not doing this lead to new and novel ways to jam the filament.
It pays to double check the tooth count on the gears. The first test cube was well undersized and over-extruded. The steps per mm settings are now corrected.
12v power supply was just not enough to get the print head up to temp. I needed to switch to 24v.
Still need to find a better way to adhere the cork to the bottom of the heated print bed.
The plain glass rectangular cutting boards form Amazon are working well as build plates. So far printing the PLA to the clean glass with no additives. Clean with denatured alcohol. On the old setup I was getting to decent adhesion with blue tape wiped with lacquer thinner.
Some of the issues were self inflicted as I was time splitting between house / yard projects, this and several other things. At times I hit my multi-tasking limits.
So now I am adjusting settings and printing parts. First successful test cube is below.
Snot string was due to still having the print head too hot due to poor contact with the thermistor.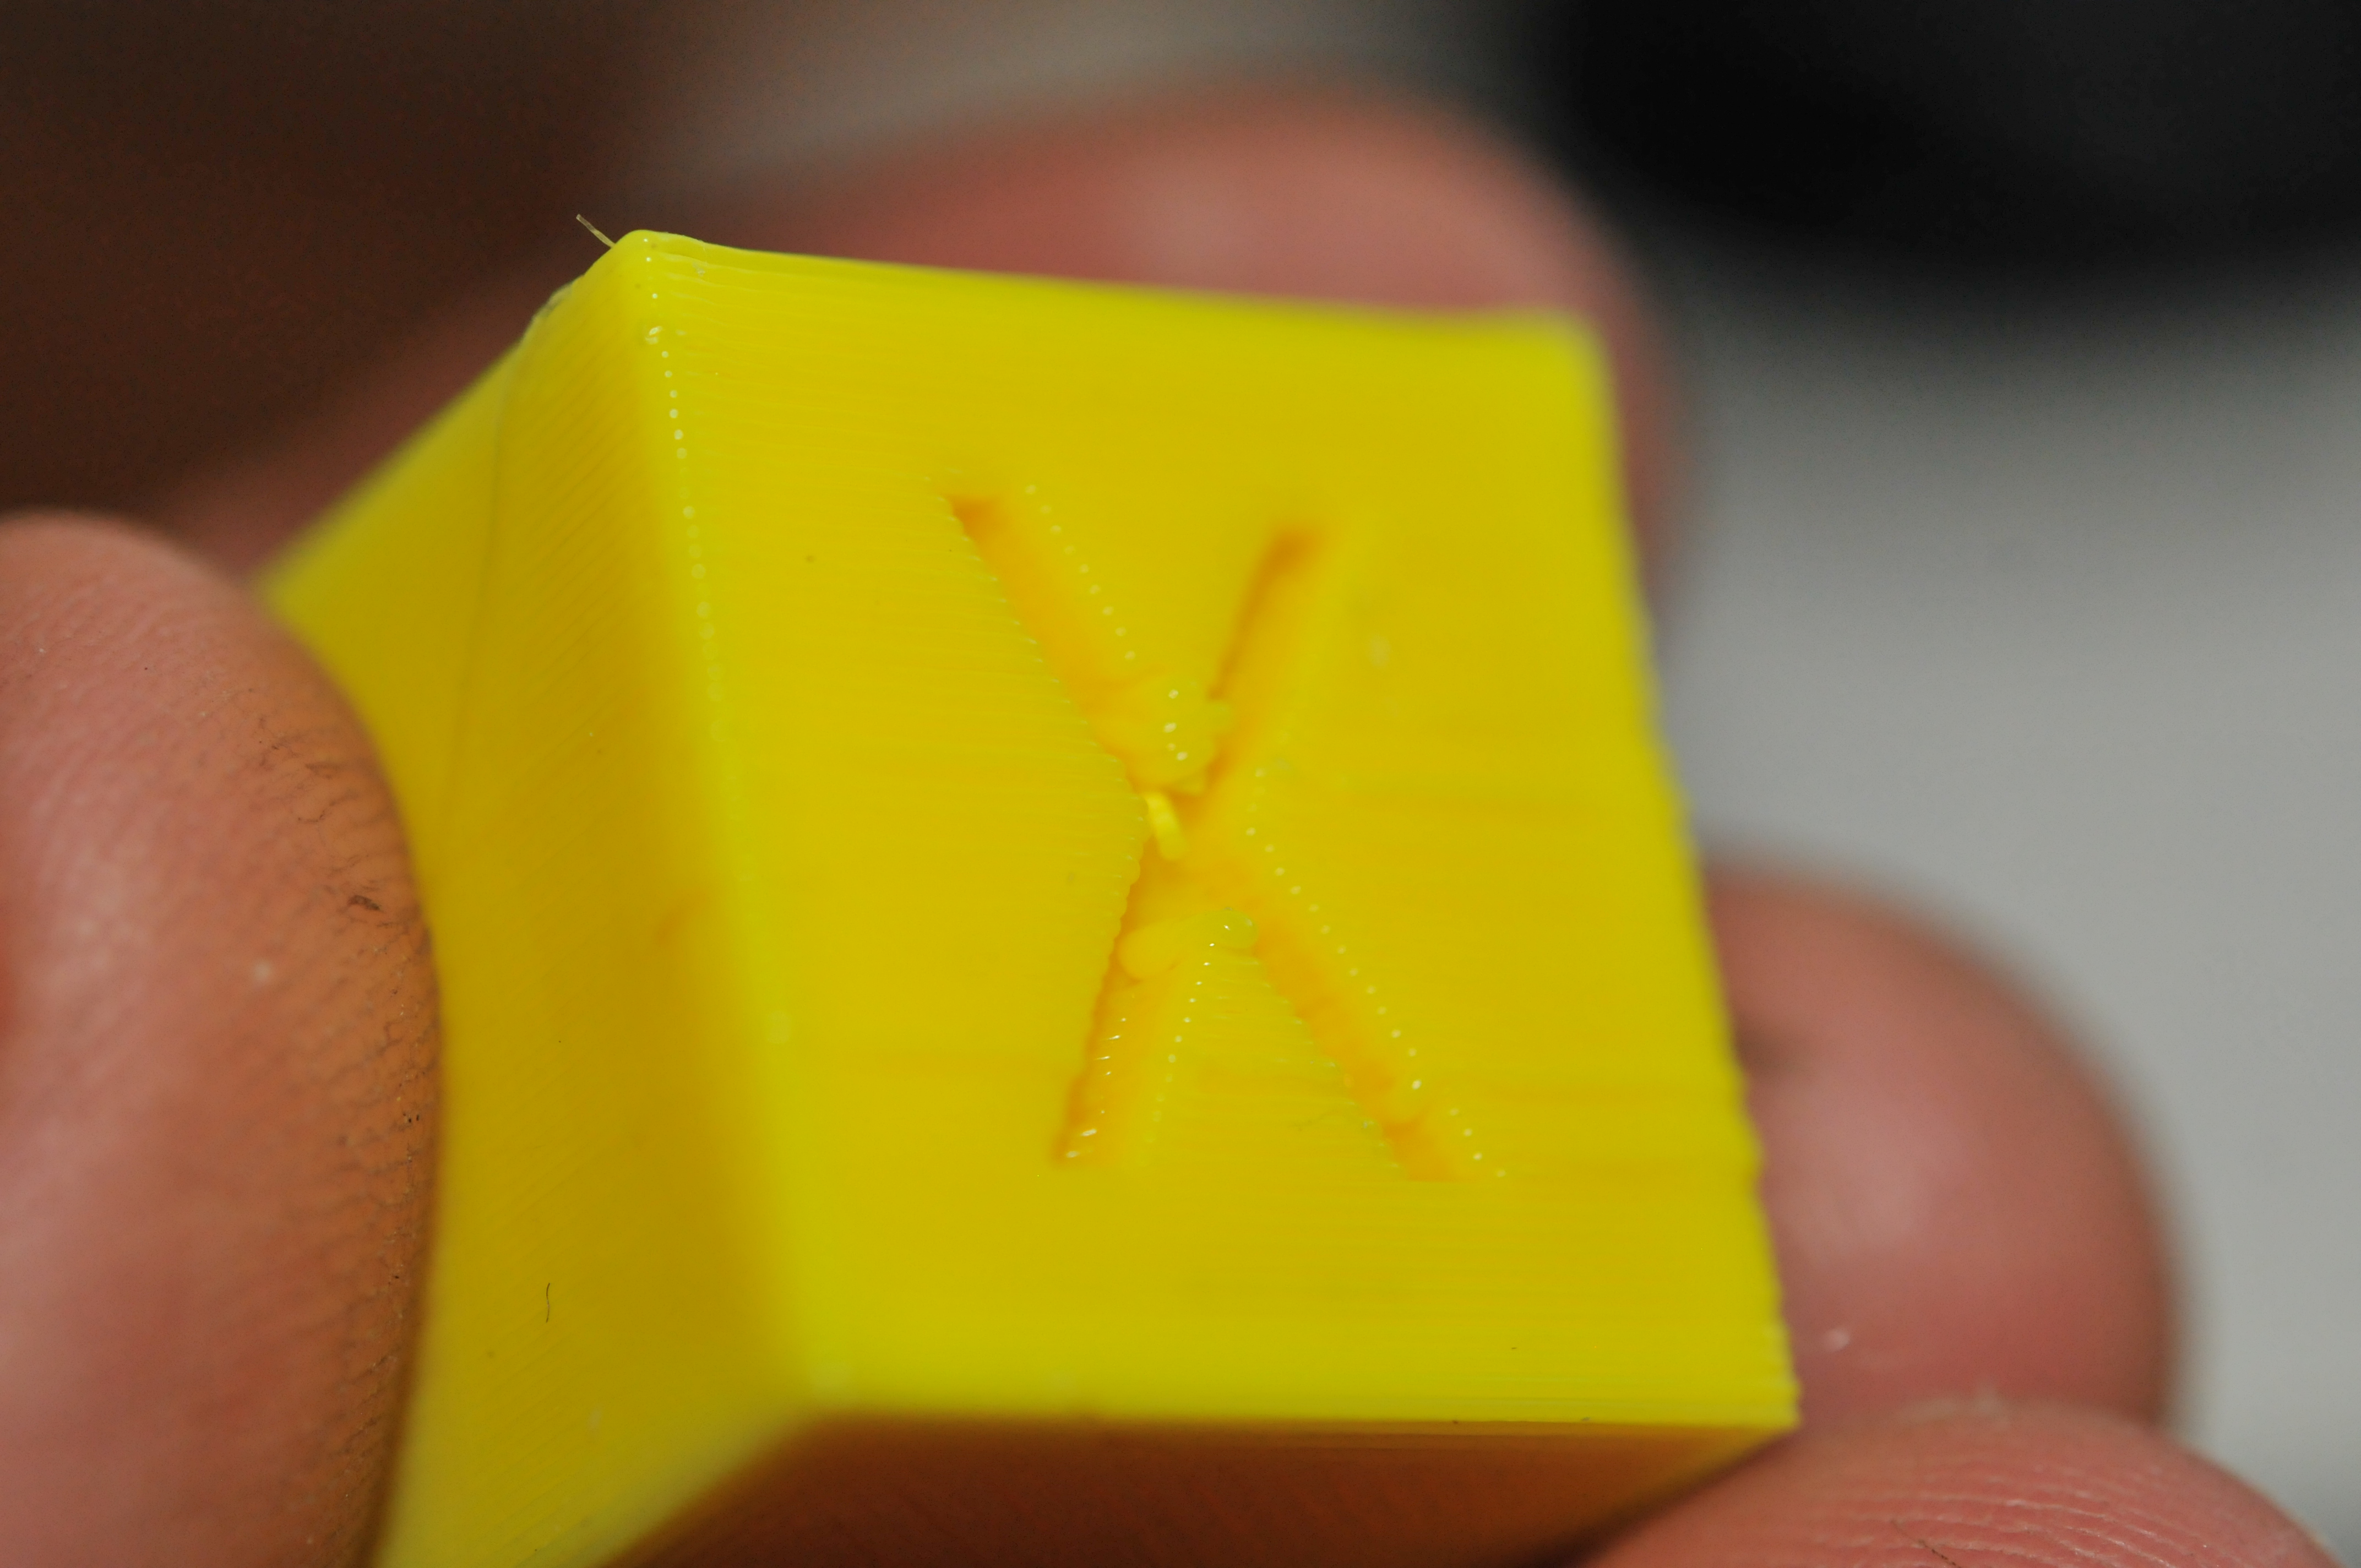
Finished test cube. Size is now dead on. This was with 0.35mm layer height, 60mm/s internal speed 30mm/s perimeters.
Now starting printer parts. Here is the back of the case for the display being printed.

The Repetier control software is great. It is much better than truing to control the printer directly via the twisty-turny knob on the display. Overall, I am rally impressed with the open source software (Marlin and Repetier) of this project.
Completed back panel for the display:
