After staining, I waited a couple of weeks to let the stain fully dry. The reason being that the gel stain used is oil based and with the winter weather, I needed to use a water based finish. My favorite for spraying in the winter is General Finishes Endurovar. It generally flows out well and dries quickly. However, with sub-zero outside temps and the resulting extremely low humidity levels indoors, it may dry a bit too quickly.
Finish coats
I spray on 2 full wet coats of gloss finish. One of the advantages of the finish first and assemble later strategy is I get to spray everything as it lays flat with a greatly reduced risk of runs. After drying then it is time to carefully sand with 320 grit sandpaper followed by green or preferably maroon Scotchbrite. The goals in the sanding are to level the surface, removing any dust nibs and leveling any “orange peel” from spraying too dry of a coat. Care must be taken not to sand through, especially on the outside corners. This is a “full scratch” sanding job, where 90-95 % of the surface is scratched from the sandpaper. This is one of the keys to getting a really smooth feeling finished surface and great reflections off of the flat surfaces. The remaining glossy spots are removed with the Scotchbrite. The reason for this is that the subsequent coat of finish will flow out much better. Otherwise it may tend to pull away or fisheye over the glossy spots. This sanding process for the bed took a good 7-8 hours.
The final coat or 2 of finish is then applied. The last coats are a Satin sheen instead of the gloss. This provides the finish texture / reflectance that I like. Let the finish cure for a few days before moving on to assembly. The reason being that while the finish may be “ok to handle” a few hours after spraying, it is still easily damaged and needs time to fully harden.
Head and footboard assembly
Once the finish has cured it is time for the dry assembly of the head and footboards. As I all too often do, I made the dadoes a bit tight for the finished panels. This meant I needed to plane down the sides of the dados slightly. Lee Valley Veritas makes an excellent plane for doing this (much better than the Stanley and Woodcraft versions).

Once the head or foot board is dry assembled and everything is fitting well, it is time for the glue up. Clamps do need to be prepped and ready for use (long pipe clamps are needed for beds). Denatured alcohol and paper towels ready to clean up glue squeeze out. I use West System epoxy with the fast hardener. For each head / foot board, a “2 pump” batch of epoxy is needed. The epoxy is measured (pumped out), mixed well and enough colloidal silica is added to yield a mayonnaise type of consistency. The epoxy is then tinted to be slightly darker, with Van Dyke Brown powdered pigment, than the finished wood. The darker epoxy hides gaps better than if it were too light.
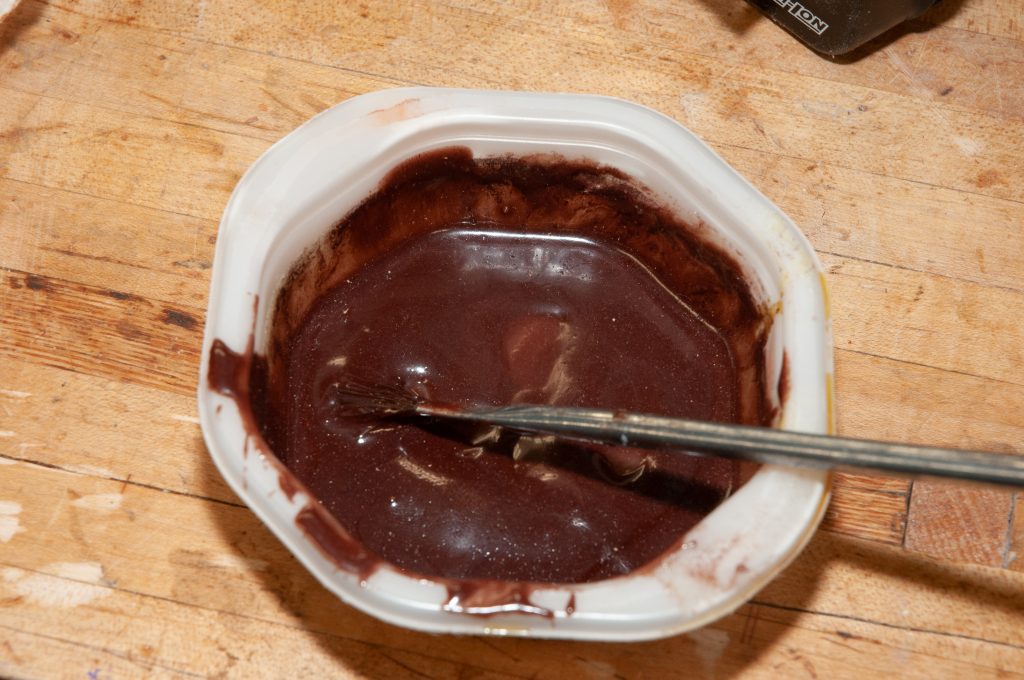
The disassembly and re-assembly proceeds rather briskly. The epoxy has an open time of about 20 minutes and everything needs to be clamped up within that time period.

As you can see in the photo, there are pieces of masking tap on the top and bottom rails. These have pencil marks indicating where to align the dividers. There is a small (3/16″) amount of play in their positioning and it is important to get it right as an angled piece will show later.

In the headboard view above, you can see the bolt sticking out in the lower right corner. The bolt is in place to retain the nut plate during assembly to ensure it does not fall out and to allow for re-centering of the nut plates as the glue dries. It would be VERY bad to have the whole thing glued up and then discover that the nut plate was missing or held far off center by a blob of epoxy.

Prior to assembling the headboard, I engraved my “signature plate” on the inside of the headboard, using the laser. This provides a much nicer product than the old fashioned wood burning tools. This will end up behind the box spring / mattress. So it is really only visible when the bed is disassembled or being moved. Hopefully this will be part of the heritage of the bed for future generations.
Drilling the bed bolt holes
Drilling the holes into the ends of the approximately 6′ long side rails is always a pain. It is hard to stay centered even with a helper to watch and supply course corrections. This time I did it differently. I marked the center line on the side rail, then placed a reference stick on it, but raised on 1-2-3 blocks (but scrap wood would do). The rise provided clearance for the drill and the stick provided a reference that we could use both horizontally (for the helper- Teal) and vertically for the person with the drill (me).

Attaching the top cap and molding
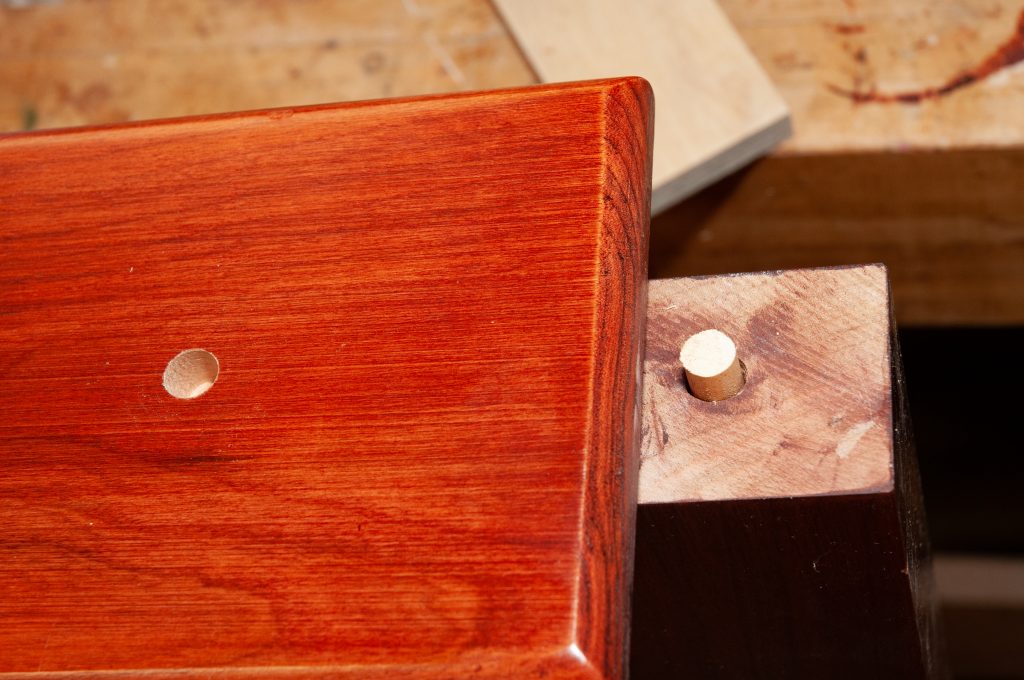
With the fine / close grain of the cherry, I did not want to use any external fasteners for the top cap. Relying on glue alone is not enough due to the end grain to side grain joint of the post tops and the cap. To reinforce the joint, I used dowels. They are placed with one on the top of each post and one on the hidden center block.
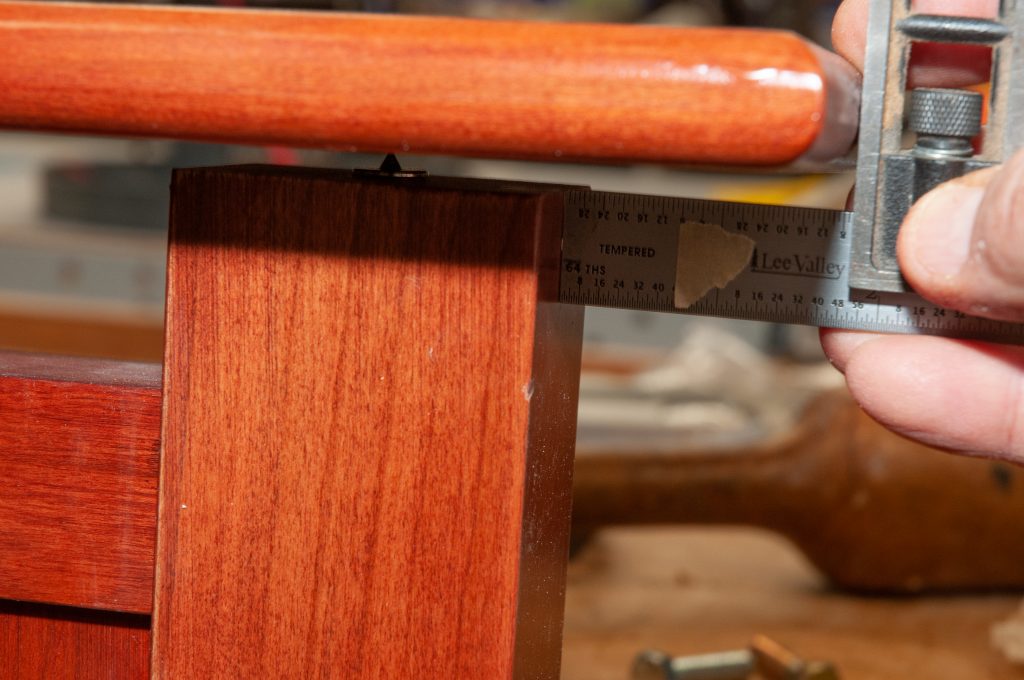
I use a pair of small squares set for the end and side offsets to make for easy realignment when marking the dowel placement. This is repeatable and great for single person work. Note the tape on the scale of the 6″ square so that I do not inadvertently flip it and use the wrong end.
The holes in the base are drilled first and then dowel centers are used to transfer marks to the top cap, one at a time. I start at the right end, mark & drill, then place the dowel, then do the same for the left end and lastly the center. The top cap can be glued with either thick CA glue or epoxy. Both work well.
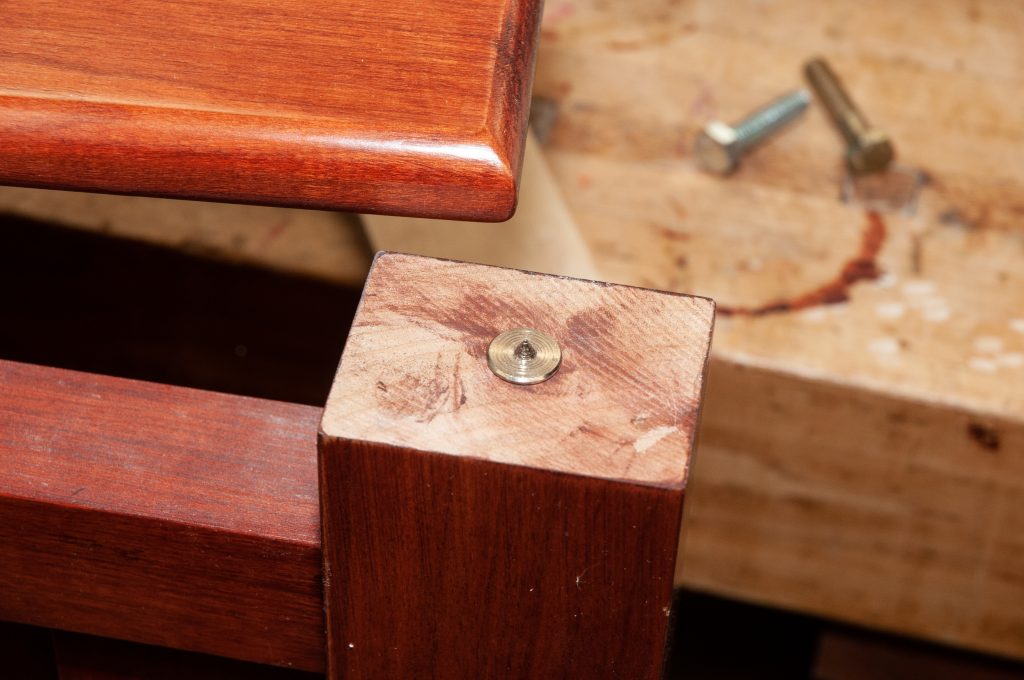
Below the top cap, the molding that was made previously is installed using thick CA glue and 1″ 23ga micro pins. The pins are not visible after installation and waxing.
Final test assembly
Final assembly happens in the shop (with very little room to spare). I have done queen and king size beds this way but have to move the table saw over and then hop over the head and foot boards as there is then no side clearance.
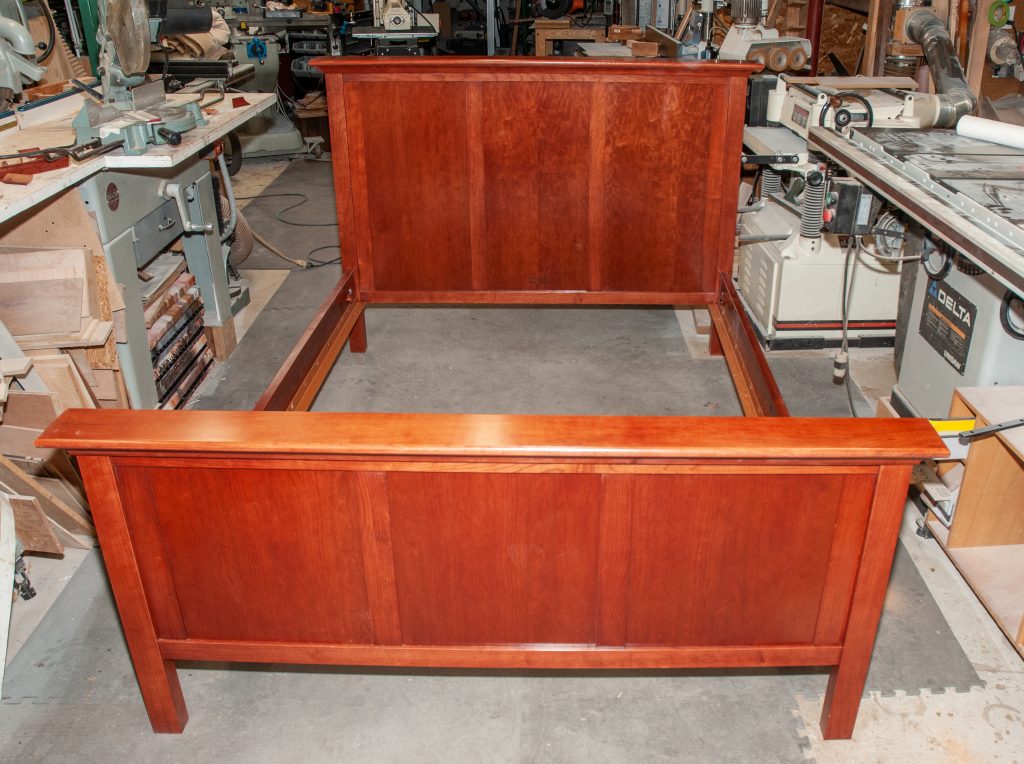

Now the bed is complete and waiting for delivery. My grand-daughter Isla is anxiously awaiting her new bed.
