Design and construction elements
This design uses “flush” drawers that fit closely into the frame. Final fitting is fussier than if you are using overlay fronts. The drawers need to fit allowing for wood expansion in the summer, yet have an even appearing gap around the front edge with respect to the frame.
There are several keys to making this work:
- Having raised runners inside of the dresser. The runners tops are about 3/32″ above the bottom of the opening. With flat drawer bottom edges this distance will set the gap below the bottom of the drawer.
- The sides and back are cut 1/16-1/8″ shorter than the drawer fronts. This means that when doing the final trimming you only have to plane the drawer front rather than all 4 edges. This also leaves a little extra gap on the sides to eliminate binding in the summer.
- Drawers were calculated to be a 3/16″ narrower than the opening width including plus the over cut for the dovetails on the fronts. This means that when the faces have the dovetails trimmed flush they are nearly at the correct width.
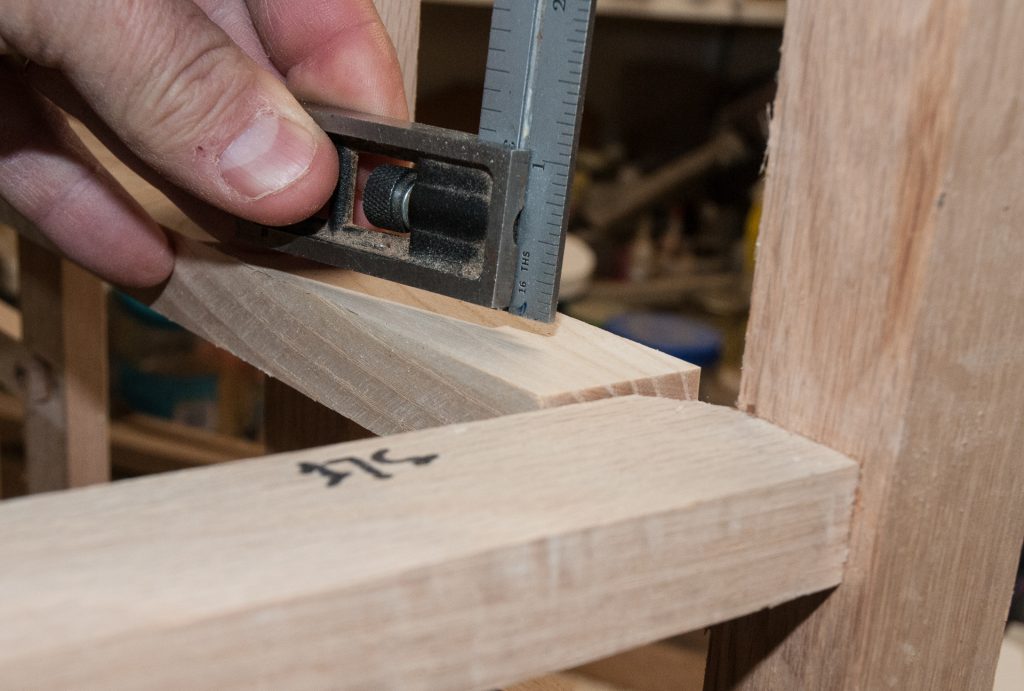
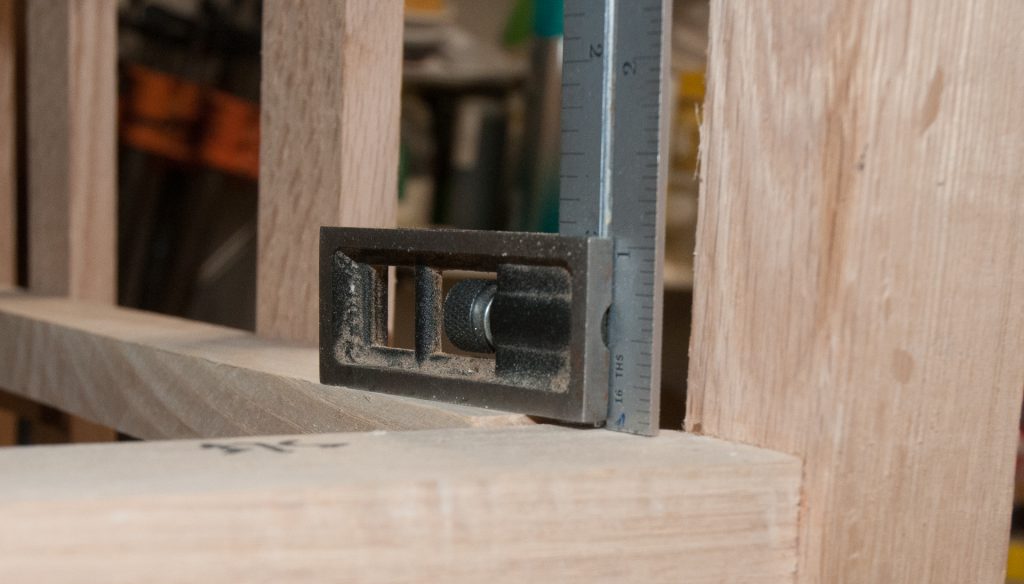
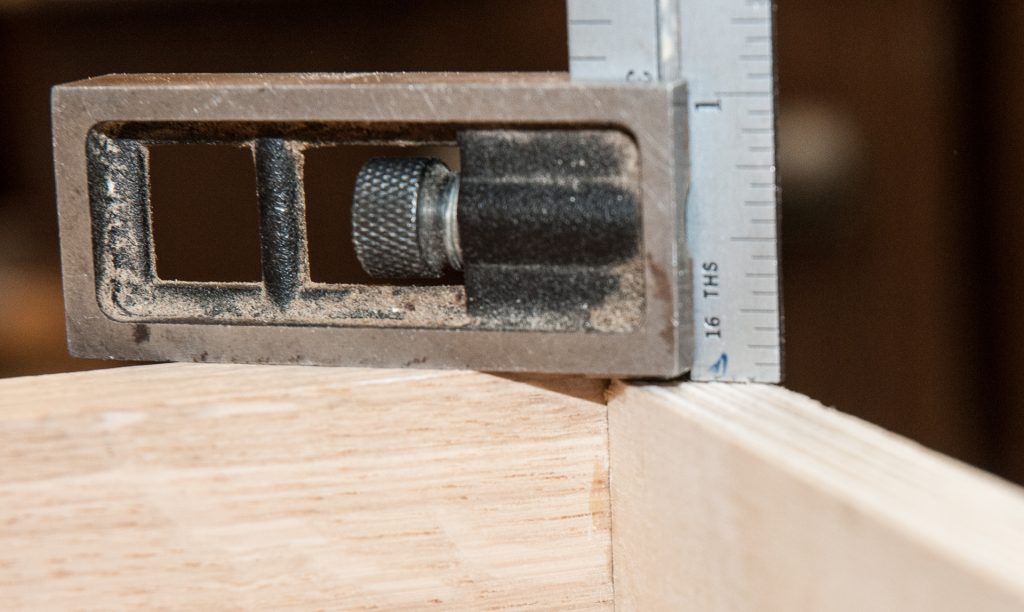
- The drawers and dresser frame must all be square. Any out of square makes for large gaps around the drawers or drawer fronts that won’t sit flush in the frame.
- Making sure the seasonal wood expansion does not eat up all of the vertical gap and make the drawers stick. Using quarter or rift sawn wood minimizes but does not eliminate this problem.
Fitting and trimming
For the final fit up, slide all of the drawers into place. With this technique, every drawer will have a distinct location unless your joinery has been absolutely flawless up to this point. In addition, with this design the grain of the drawers flows across the front from drawer to drawer. This is your last chance to check that you have the placement correct. Some will not close and others will have uneven gaps. On the back or bottom mark them as to their location (and in this case which dresser they are for as I am making 3).
Now you can trim the sides to make each drawer slide in smoothly with a good 1/8″ gap between the top of the drawer and the runner above. Next the drawer front is trimmed for height. Push the drawer in too far and scribe with a pencil against the rail above the drawer aiming for an even gap of about 1/8″. Now trim with the table saw (if the cut is straight) or hand plane to adjust for a slight angle or bow of the rail. If you have a slightly bowed rail this will require trimming of the drawers above and below the bow. After a few trimming passes the gaps top and bottom should be equal.
Now check that the drawer can be set in flush with the rails. The final stops will be set in place after finishing. At this point you simply want to see if the drawer face can be perfectly flush with the front. If not, then the drawer or frame is out of square. To address the problem. the back edge of the drawer sides must be beveled to allow for clearance around the rear frame and angling of the drawer so that the front can be flush. Alternatively the drawer front can be planed to adjust the fit. However, if done on the inner ends of the face, this will cause the grain flow across the front to not match as well.
Next is final adjustment of the side gaps. With plywood sides, this is not easily done in an invisible manner. If the side is a bit off, then there will be the layers of the plywood and the glue lines showing through. I prefer to avoid this. Scribe the sides as you did for the top, now take a sharp hand plane and bevel the side back from the line to the start of the dovetail. This will leave an even gap as seen from the front.
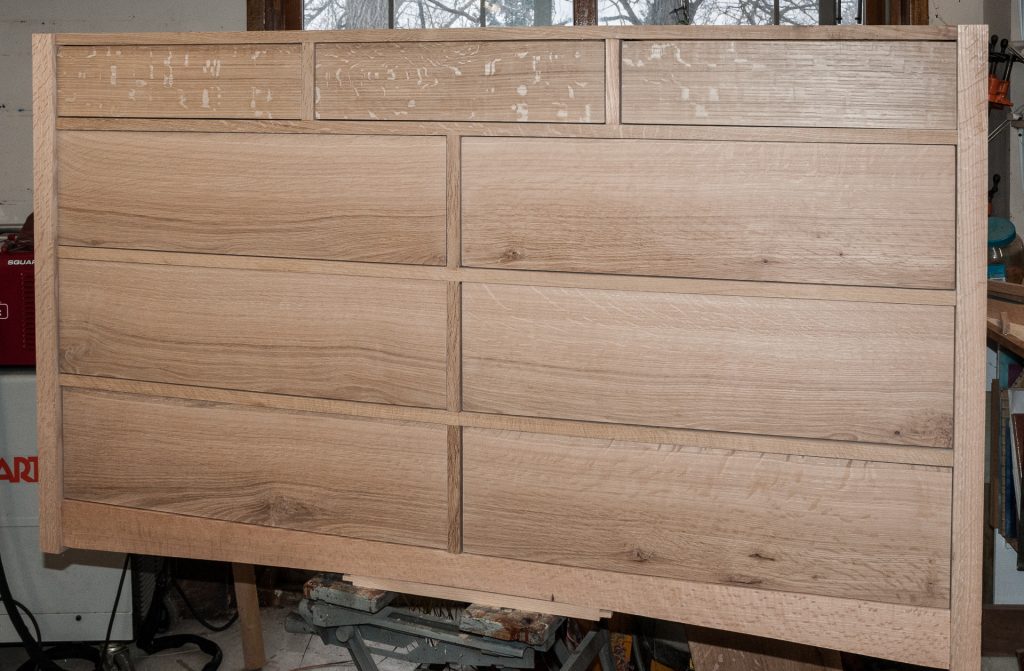
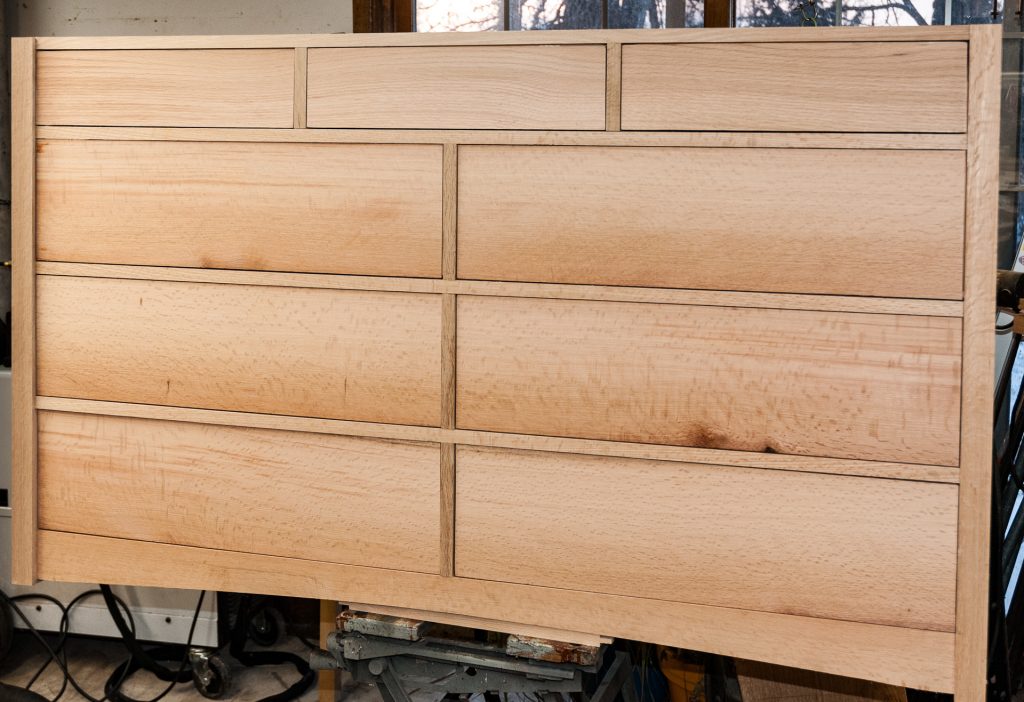
Here is one of the dressers with all of the drawers fitted and ready for final sanding and scraping of the drawers and frame.
The sides and edges will be sanded and the corners broken slightly. The fronts are scraped to make the quarter sawn wood flakes really pop when the finish is applied.